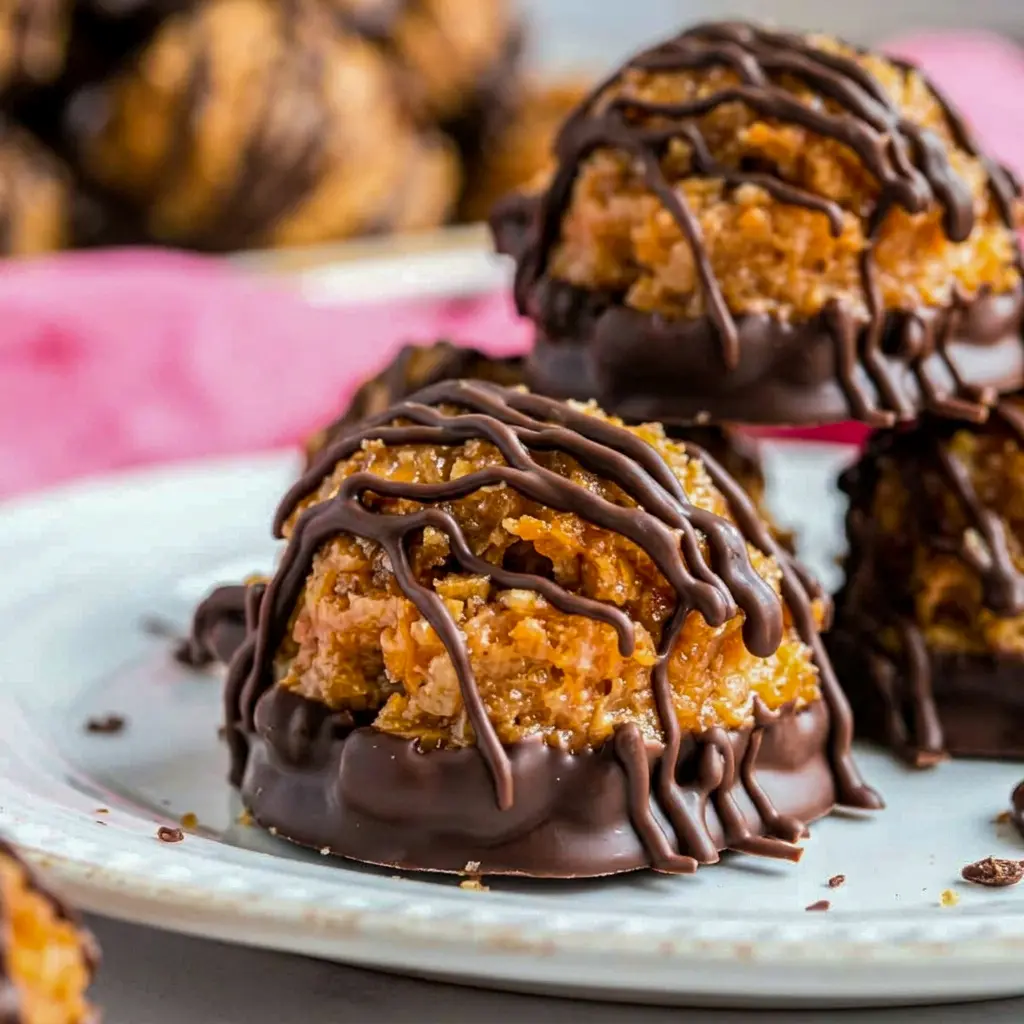
Cookie season only comes around once a year, but these Samoa Truffles let you chase that craving any time you want, no order form or patient wait for the Girl Scouts required. Think chewy coconut, thick caramel, and a chocolate coating all rolled into one bite-sized truffle, and you’ve basically got the flavor of a box of Samoas without ever needing to buy a box of cookies. Grab a spoon, because once you see how simple these come together, you’ll want to make a batch tonight.
Growing up, cookie season in my house was basically a competitive sport. Everyone had their flavor, and everyone defended it fiercely. My husband would go to bat for Tagalongs every single time, my kids are diehard thin mint loyalists, and me? I never even had to think about it. The Samoas — or Caramel deLites, depending on where you live — always won. Something about that combination of toasted coconut, gooey caramel, and a chocolate drizzle just hit differently than anything else in the box.
That obsession is exactly how Samoa Truffles came to exist in my kitchen. I wanted all of that flavor, on demand, without waiting for one specific season of the year. So I started experimenting, and what came out of it were these little truffles that taste shockingly close to the real thing, minus the cardboard box and the long wait. They’ve become one of my go-to really good desserts whenever I need something sweet, fast, and guaranteed to disappear the moment I set them out.
Table of Contents
Why You’ll Love These Samoa Truffles
Let’s talk about exactly why Samoa Truffles deserve a permanent spot in your dessert rotation.
- They taste like the real cookie, only better. Toasted coconut, thick caramel, and rich chocolate come together in every single bite, capturing everything people love about the original cookie.
- They come together shockingly fast. No oven required for the truffle base itself, which makes this one of the fastest desserts to make when you need something sweet in a hurry.
- Only five ingredients. You don’t need a long grocery list or any special equipment — just a handful of ingredients you can grab in one trip.
- They freeze beautifully. Stash a batch of Samoa Truffles in the freezer, and you’ve got a make-ahead treat ready whenever a craving strikes.
- They’re endlessly versatile for entertaining. Set a tray out at a holiday party, a potluck, or a backyard get-together, and they’ll disappear before anything else on the table.
If you’ve been hunting for a solid Samoa Truffle Recipe that actually tastes like the cookie it’s named after, this is the one. It’s simple enough for a weeknight sweet tooth but impressive enough to serve at a party without anyone guessing how little effort went into it. Honestly, once you try this Samoa Truffles Recipe, the store-bought version might start to feel like a downgrade.
The Key Ingredients (and Why You Need Them)
Here’s a look at what goes into these truffles and why each ingredient earns its spot. I’m leaving out exact amounts here since the printable recipe card has all of that — this section is about understanding what each ingredient does, so you know exactly what you’re working with.
- Sweetened shredded coconut – This is the star of the whole show. It brings that chewy, slightly nutty texture that makes Samoa Truffles taste unmistakably like the cookie they’re inspired by. Unsweetened coconut works too, since the rest of the mixture is plenty sweet on its own.
- Nilla Wafers – Crushed cookies add body and a subtle vanilla flavor to the base. Keep some larger crumbs instead of crushing them completely fine — that texture matters. Golden Oreos or butter cookies work as a substitute if that’s what you’ve got on hand.
- Sweetened condensed milk – This brings the right level of sweetness while helping everything bind together into a cohesive, scoopable mixture.
- Dulce de leche – A thick, rich caramel sauce that gives these truffles their signature gooey texture. This is not the same as bottled caramel sauce or milk caramel — you need the thick, canned version for this to work.
- Chocolate – Melting wafers (like Ghirardelli) give you a smooth, glossy coating without needing to temper the chocolate or add shortening. Dark or semisweet chocolate chips work in a pinch too.
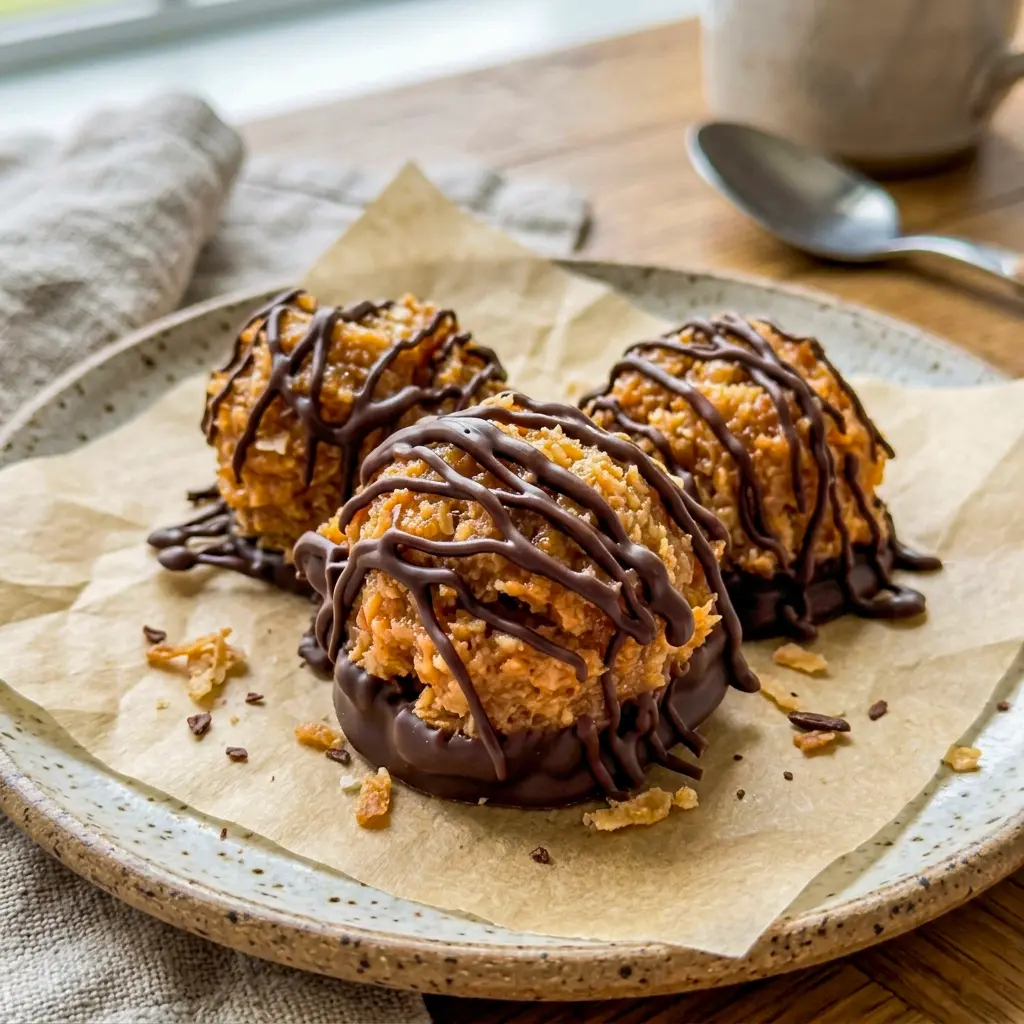
How to Make It
Here’s the general process for pulling together a batch of Samoa Truffles. (Full measurements and the complete step-by-step live on the printable recipe card.)
- Toast the coconut (optional). Spread the shredded coconut in a single layer on a baking sheet and toast until golden, flipping it every few minutes. This step adds a nutty depth of flavor, but you can absolutely skip it and use the coconut as-is.
- Combine the base. Mix the crushed Nilla wafers with the dulce de leche and sweetened condensed milk until everything is evenly combined.
- Fold in the coconut. Add the shredded coconut to the mixture and stir until it’s fully incorporated and holds together.
- Scoop the truffles. Portion the mixture by the tablespoonful onto a parchment-lined baking sheet.
- Freeze. Pop the tray into the freezer for about 30 minutes, until the truffles firm up enough to handle easily.
- Melt the chocolate. Melt the chocolate wafers in the microwave in short bursts, stirring between each one, until smooth and glossy.
- Dip and drizzle. Dip the bottom of each frozen truffle into the melted chocolate, then use the leftover chocolate in a piping bag (or a zip-top bag with the corner snipped off) to drizzle over the tops of all the truffles.
- Chill and serve. Let the chocolate set before serving, or store the truffles in the fridge or freezer until you’re ready to enjoy them.
Pro Tips for Perfect Samoa Truffles
A few small details make a big difference with this recipe:
- Use the right dulce de leche. Make sure it’s the canned, thick caramel version — bottled caramel sauce is too thin and won’t give you the right texture.
- Don’t over-crush the cookies. Keep some larger crumbs in the mix instead of pulverizing them completely; the texture contrast is part of what makes these so good.
- Toast the coconut if you have time. It’s optional, but it adds a wonderful nutty flavor and a touch of crispness that plain shredded coconut doesn’t have.
- Freeze before dipping. Skipping the freezer step makes the truffles too soft to dip cleanly into the melted chocolate.
- Melt chocolate in short bursts. Stir between every interval in the microwave to avoid scorching, and stop as soon as it’s smooth.
- Store them properly. These keep well in the fridge for about two weeks, or in the freezer for up to three months — though don’t be surprised if they disappear long before that.
Fun Variations to Try
Once you’ve mastered the base recipe, here are a few ways to switch things up:
- Go bite-sized for parties. Scoop the mixture smaller to create mini truffles, perfect as party sweet treats for a crowd.
- Make them holiday-ready. Roll a batch of Samoa Truffles out for your next cookie tray or dessert spread — they make wonderful Holiday Finger Desserts that stand out next to traditional cookies.
- Swap the cookie base. Golden Oreos or butter cookies both work well in place of Nilla wafers if you want a slightly different flavor note.
- Add a sprinkle of sea salt. A light dusting of flaky salt over the chocolate drizzle adds a nice contrast to all that sweetness.
- Build a full dessert board. Pair these truffles with other bite-sized sweets for an easy Dessert Finger Food Sweet Treats spread that guests can graze on all night.
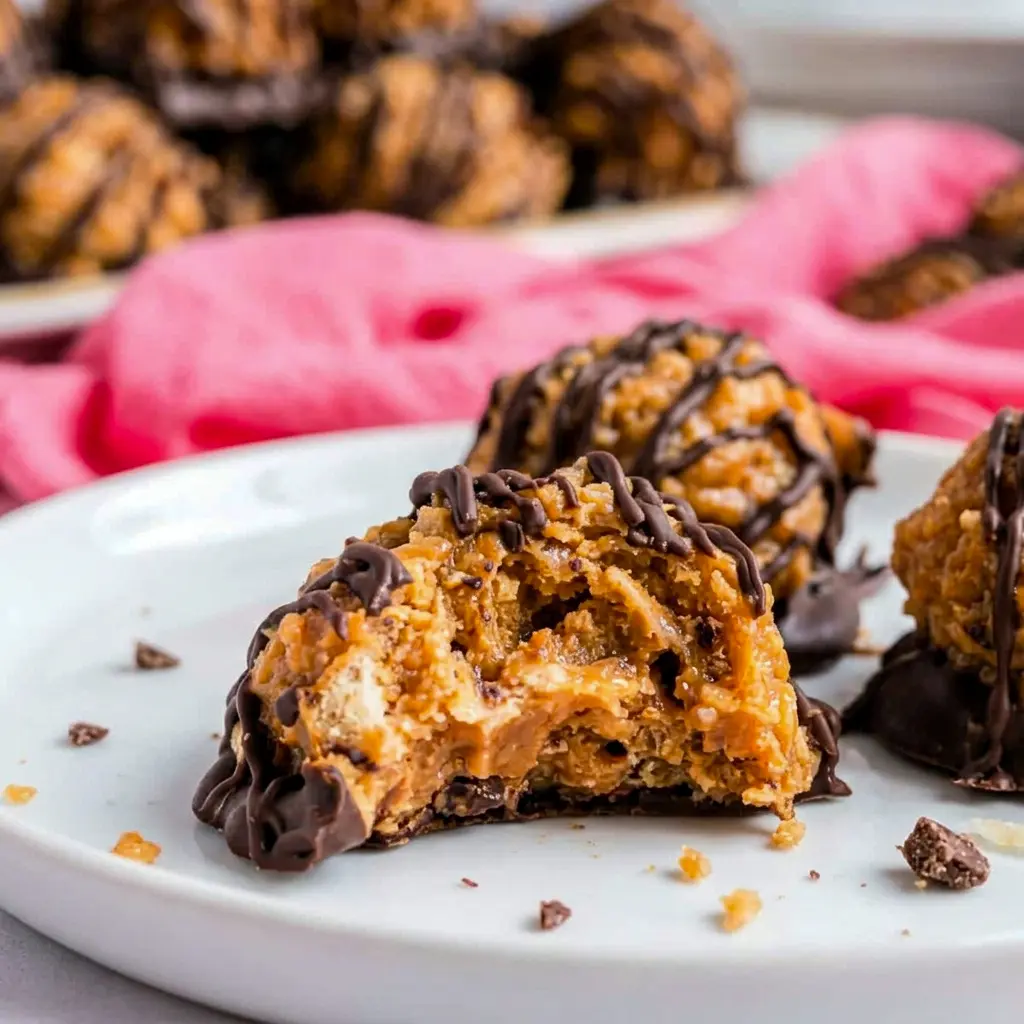
Best Ways to Serve
Samoa Truffles fit in almost anywhere you need a crowd-pleasing dessert:
- On a holiday dessert table, right alongside your favorite cookies and bars.
- As part of a party dessert spread, where their bite-sized shape makes them easy to grab and go.
- Packed into a gift box or tin, since they hold up well and make a thoughtful homemade present.
- Alongside coffee or tea for an afternoon treat that feels a little indulgent.
- At a summer cookout, served chilled straight from the fridge — a sweet contrast if the rest of the table is leaning toward savory summer snacks like chips, dip, and grilled bites.
Storage Tips for Leftovers
Here’s how to keep your batch of Samoa Truffles fresh:
- Fridge: Store in an airtight container for up to about 2 weeks.
- Freezer: These freeze beautifully for up to 3 months, making them a great make-ahead option.
- Serving from frozen: Let them sit at room temperature for a few minutes before serving if you want a slightly softer bite.
- Heads up: Don’t be surprised if this batch disappears well before either of those timelines runs out — they’re that good.
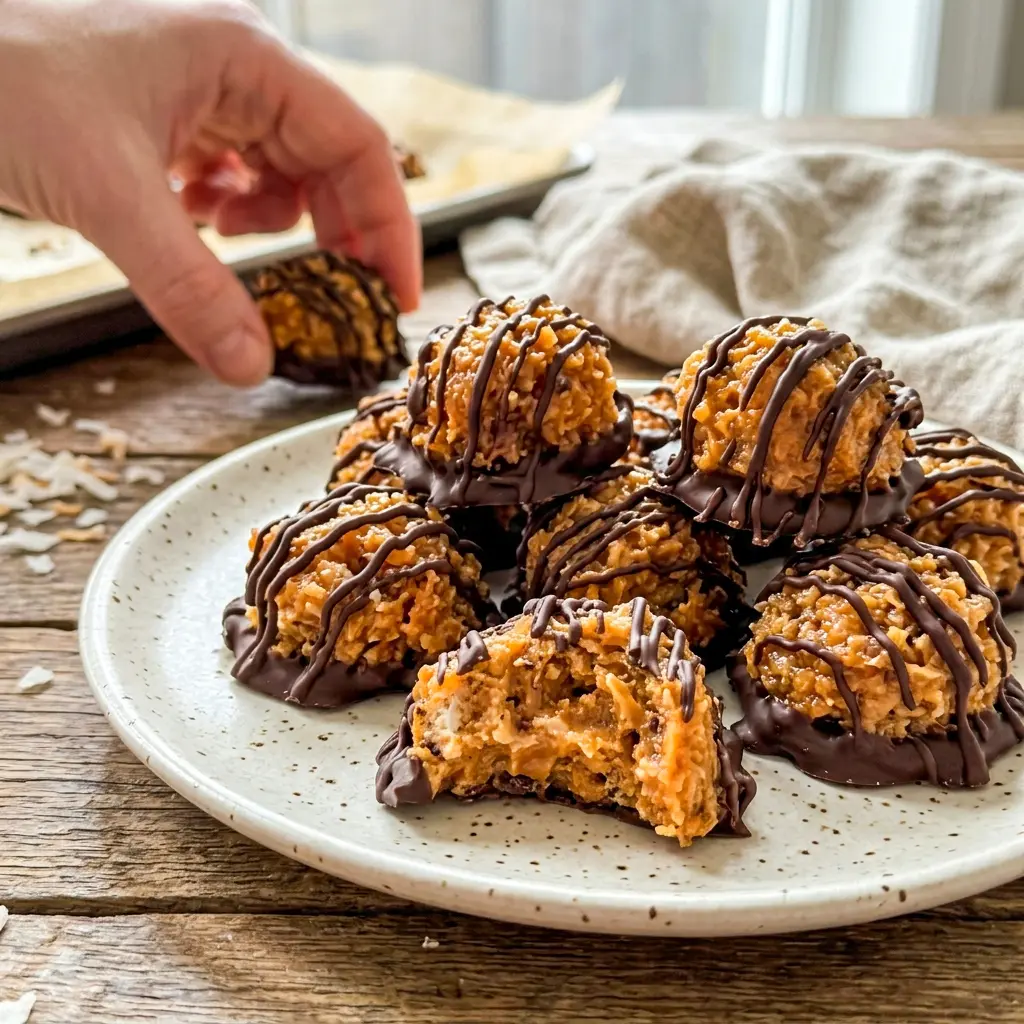
Frequently Asked Questions
Can I use bottled caramel sauce instead of dulce de leche?
No — bottled caramel sauce is too thin and won’t give the truffles the right texture. You need the thick, canned dulce de leche for this recipe to work properly.
Can I skip toasting the coconut?
Yes, toasting is optional. It adds extra flavor and a bit of crispness, but the truffles turn out great with untoasted coconut too.
What can I use instead of candy melting wafers?
Dark or semisweet chocolate chips work as a substitute if you don’t have candy wafers on hand.
How long do Samoa Truffles last?
They’ll keep in the fridge for about 2 weeks, or in the freezer for up to 3 months in an airtight container.
Can I make these ahead of time for a party?
Absolutely. These are one of the fastest desserts to make ahead of time, since they freeze so well — just pull them out and let them sit for a few minutes before serving.
Do I need any special equipment to make this recipe?
Not at all. A mixing bowl, a baking sheet, and a microwave for melting the chocolate are really all you need.
Final Thoughts
At the end of the day, Samoa Truffles prove that you don’t need a fundraiser order form or a specific time of year to enjoy that iconic coconut-caramel-chocolate combination. With just five ingredients and minimal hands-on time, this is one of those really good desserts you’ll find yourself making on repeat, whether it’s for a holiday tray, a party spread, or just because the craving hit. Once you try this recipe, you’ll understand exactly why it’s become one of my most-requested treats — give it a try, and don’t be shocked when the whole batch vanishes within a couple of days.
Follow me on Pinterest for daily new recipes.
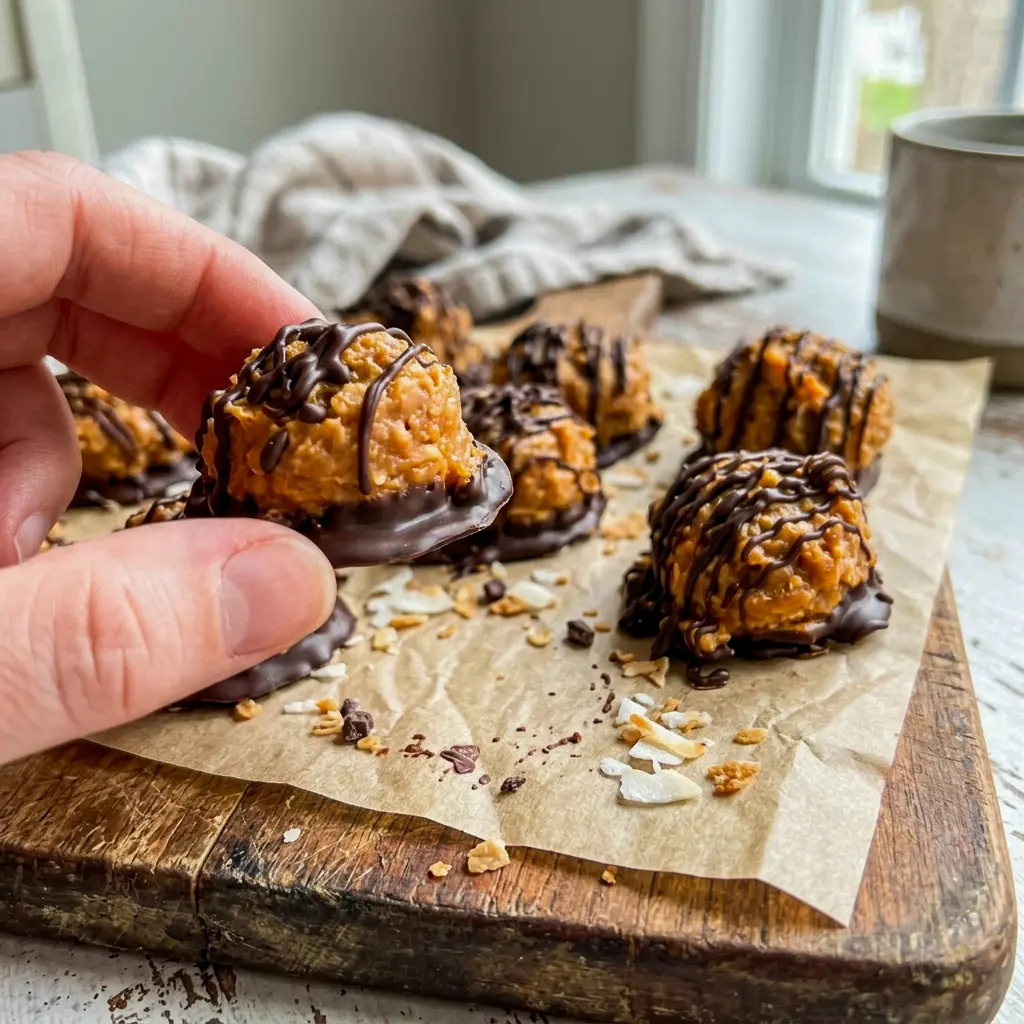

Samoa Truffles – One of the Fastest Desserts to Make (No Bake!)
- Total Time: 50 minutes
- Yield: 72 truffles 1x
Description
Chewy coconut, thick caramel, and a smooth chocolate coating come together in these no-bake truffles inspired by the classic Girl Scout cookie. No cookie box required — just five simple ingredients and a little freezer time stand between you and a candy that tastes shockingly close to the real thing.
Ingredients
- 7 ounces sweetened shredded coconut
- 1 can (14 ounces) dulce de leche
- 1 can (14 ounces) sweetened condensed milk
- 1 box (14 ounces) Nilla Wafer cookies, crushed (about 3 cups crushed)
- 16 ounces Ghirardelli dark chocolate melting wafers
Instructions
1. Mix the Truffle Base In a large mixing bowl, combine the shredded coconut, dulce de leche, sweetened condensed milk, and crushed Nilla wafer cookies. Stir everything together thoroughly with a sturdy spoon or spatula, making sure the caramel and condensed milk coat every bit of the coconut and cookie crumbs evenly. The mixture should look thick, sticky, and cohesive, with visible flecks of coconut and cookie crumb running throughout — keep stirring until there are no dry pockets of cookie crumbs left at the bottom of the bowl.
2. Shape and Portion the Truffles Line a large baking sheet with parchment paper, making sure it’s big enough to hold all of the truffles in a single layer without crowding. Using a tablespoon (a cookie scoop works well too), scoop rounded portions of the mixture directly onto the prepared parchment paper. Continue scooping until you’ve used up the entire batch of mixture, spacing each portion a small distance apart so they don’t stick together in the freezer. You don’t need to roll or shape them further at this stage — a rustic, mounded scoop shape is exactly what you want.
3. Freeze Until Firm Carefully transfer the baking sheet into the freezer, keeping it as level as possible so the truffles hold their shape. Freeze for approximately 30 minutes, until each truffle feels firm to the touch and holds together well when picked up. This freezing step is essential — it firms up the sticky caramel-coconut mixture enough that the truffles can be handled and dipped into chocolate without falling apart or losing their shape.
4. Melt the Chocolate While the truffles are freezing, prepare your chocolate coating. Place the chocolate melting wafers in a microwave-safe bowl and melt according to the package directions — this typically takes about 1½ minutes total in the microwave, but work in 30-second increments, stopping to stir thoroughly after each one. Continue this process until the chocolate is completely smooth, glossy, and lump-free. Melting slowly in short bursts, rather than all at once, helps prevent the chocolate from scorching or seizing up.
5. Dip the Truffles Once the truffles are firm and the chocolate is fully melted, remove the baking sheet from the freezer. Working one at a time, pick up each frozen truffle and dip just the bottom into the melted chocolate, coating it in a thin, even layer. Gently shake off any excess chocolate, then set the truffle back down on the parchment-lined baking sheet in its original spot. Repeat this process with each remaining truffle until the entire batch has been dipped.
6. Drizzle with Remaining Chocolate Once all of the truffles have been dipped, you should still have some melted chocolate left over. Pour this remaining chocolate into a small zip-top bag, pushing it down into one corner. Snip off just the very tip of that corner with a pair of scissors to create a small opening, then use the bag like a piping tool to drizzle chocolate back and forth over the tops of all the truffles in thin, decorative lines.
7. Set and Store Allow the chocolate coating and drizzle to set completely, either by letting the truffles sit at room temperature for a short while or by placing the tray back in the fridge or freezer briefly to speed up the process. Once set, transfer the truffles into an airtight container for storage, keeping them in the refrigerator or freezer until you’re ready to serve.
Notes
- Use the correct dulce de leche. This recipe calls for the thick, canned caramel known as dulce de leche — not bottled caramel sauce, which is too thin and will cause the truffles to spread or fall apart. Double-check the label before you buy.
- No candy wafers on hand? Dark or semisweet chocolate chips make a fine substitute if you can’t find melting wafers.
- Toasting the coconut is optional. Toasting the shredded coconut before mixing it into the base adds a deeper, nuttier flavor and a bit of pleasant texture, though the truffles are just as delicious with untoasted coconut.
- Storage: These truffles keep well in the refrigerator for about 2 weeks, and in the freezer for up to 3 months in an airtight container. Fair warning — they tend to disappear within days once people discover them.
- Prep Time: 5 minutes
- Chill Time: 30 minutes
- Category: Dessert
Nutrition
- Serving Size: 1 truffle
- Calories: 51kcal
- Sugar: 5g
- Sodium: 13mg
- Fat: 3g
- Carbohydrates: 6g
- Fiber: 1g
- Cholesterol: 1mg