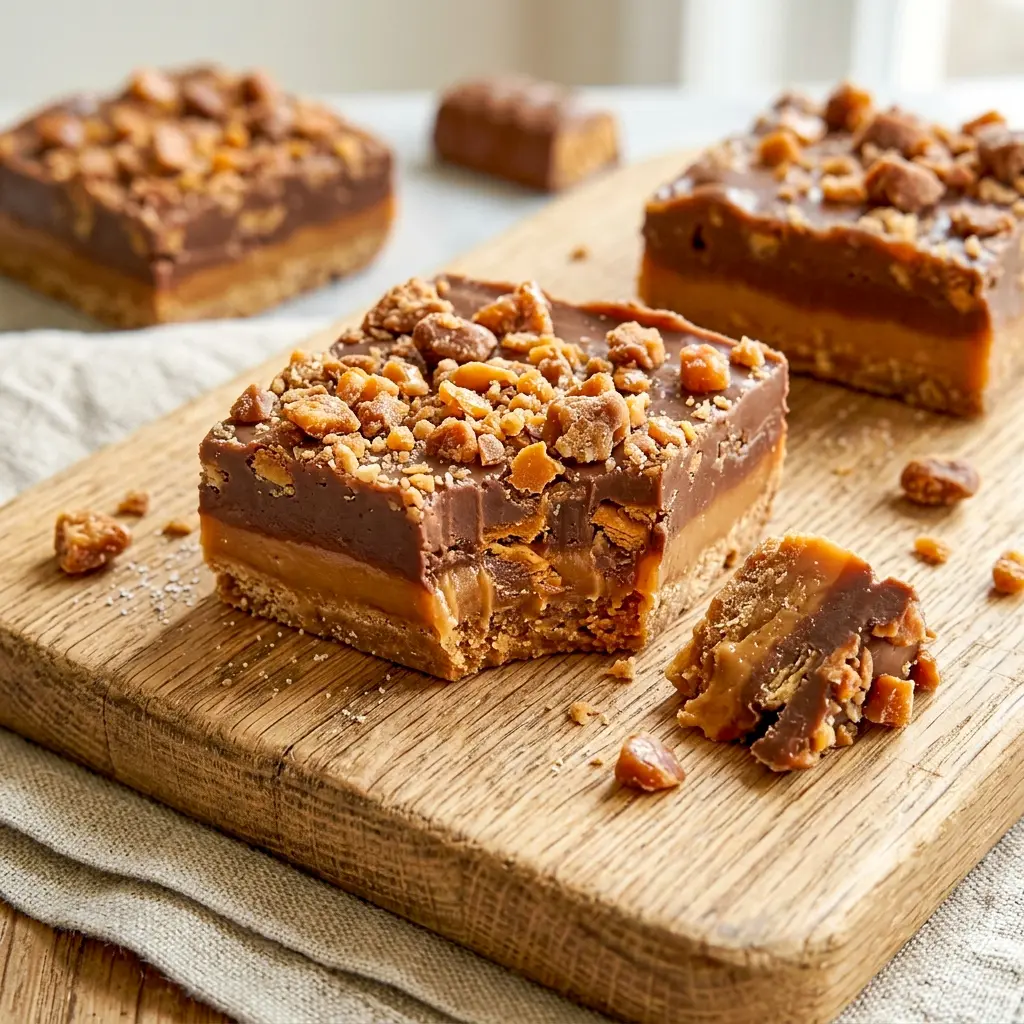
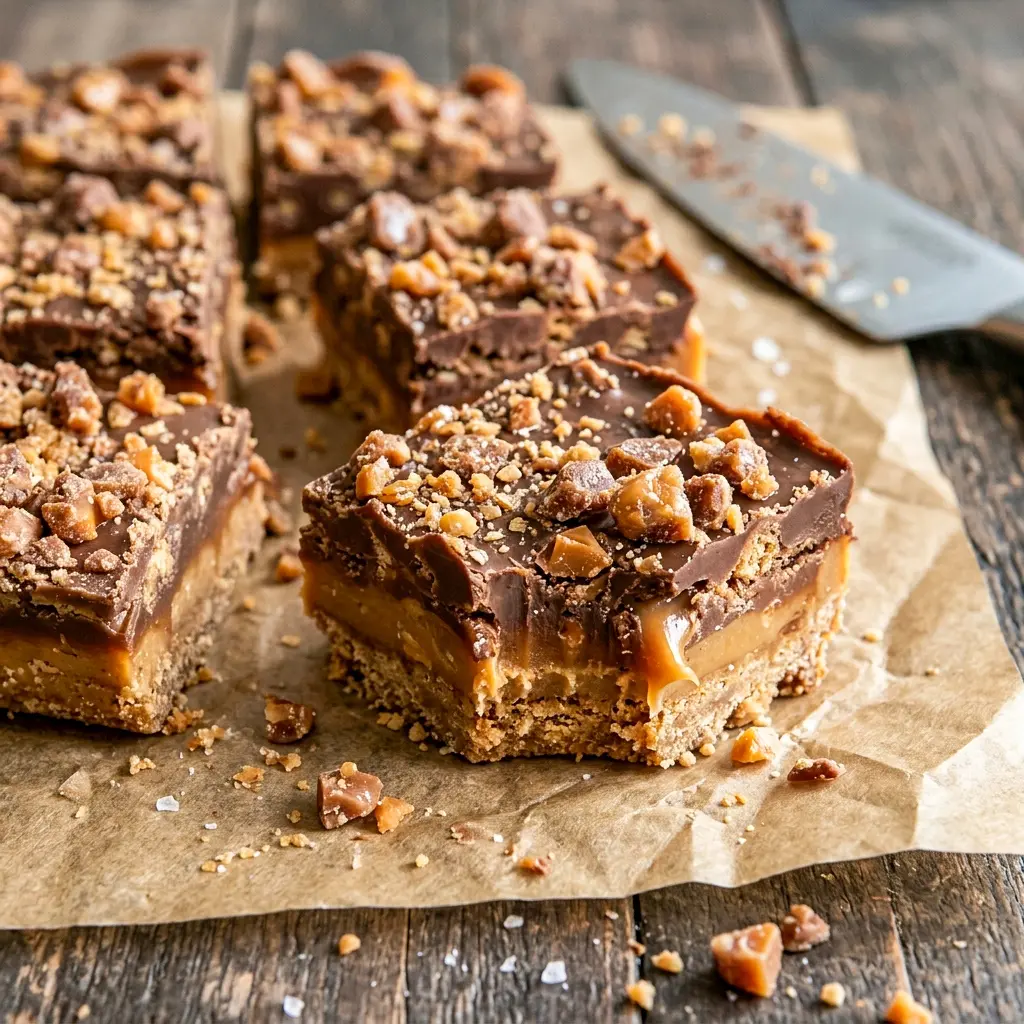
Crunchy, creamy, and loaded with caramel — that’s the trifecta that makes these Butterfinger Caramel Crunch Bars disappear off a dessert table faster than almost anything else I bake. A buttery graham cracker crust holds up a layer of gooey caramel, a generous scattering of crushed Butterfinger candy, and a smooth chocolate topping that ties the whole thing together. One bite, and you’ll understand why this has become one of my most-requested bars for potlucks, parties, and lazy weekend baking sessions.
Some desserts are good, and then some desserts hit every single texture note at once — and that’s exactly what’s going on with these Butterfinger Caramel Crunch Bars. You’ve got the snap of a crisp graham cracker base, the stretchy pull of warm caramel, the signature crackly crunch of Butterfinger candy pieces, and a layer of rich chocolate on top holding it all together. It’s the kind of bar that makes people ask for the recipe before they’ve even finished their first piece.
What I love most about this recipe is how little effort it demands for how impressive the final result looks. There’s no candy thermometer, no complicated technique, and no fancy equipment required. Just a handful of layers, a few short bakes and melts, and a little patience while everything sets in the fridge. If you’ve got a party coming up, a potluck to bring something to, or simply a sweet tooth that needs satisfying, these Butterfinger Caramel Crunch Bars are exactly the kind of recipe worth adding to your regular rotation.
Table of Contents
Why You’ll Love These Butterfinger Caramel Crunch Bars
Let’s break down exactly why these bars earn a permanent spot in your dessert lineup.
- The texture is unbeatable. Between the crisp crust, gooey caramel, crunchy candy, and smooth chocolate, every bite delivers something different.
- They’re easier to make than they look. No candy thermometer, no complicated baking steps — just layering and a little patience while everything sets.
- They’re a guaranteed crowd-pleaser. Whether you’re bringing dessert to a potluck or setting out treats for a party, these bars are the first thing to disappear from the table.
- They’re endlessly customizable. Swap in different candy bars, adjust the chocolate, or make it your own — this recipe is a fantastic base for experimenting.
- They make a great homemade gift. Wrapped up in a box or tin, these Homemade Crunchy Butterfinger Bars feel like a treat from a bakery, even though you made them in your own kitchen.
If you’ve been hunting for Butterfinger Bars that go beyond the basic candy bar experience, this recipe delivers something far more layered — literally. These aren’t just crushed candy on top of brownies; they’re a fully built dessert bar with distinct layers that each pull their own weight. Once you try a batch of these Butterfinger Caramel Crunch Bars, you’ll understand why they’ve become such a favorite among anyone with a soft spot for sweet and crunchy desserts.
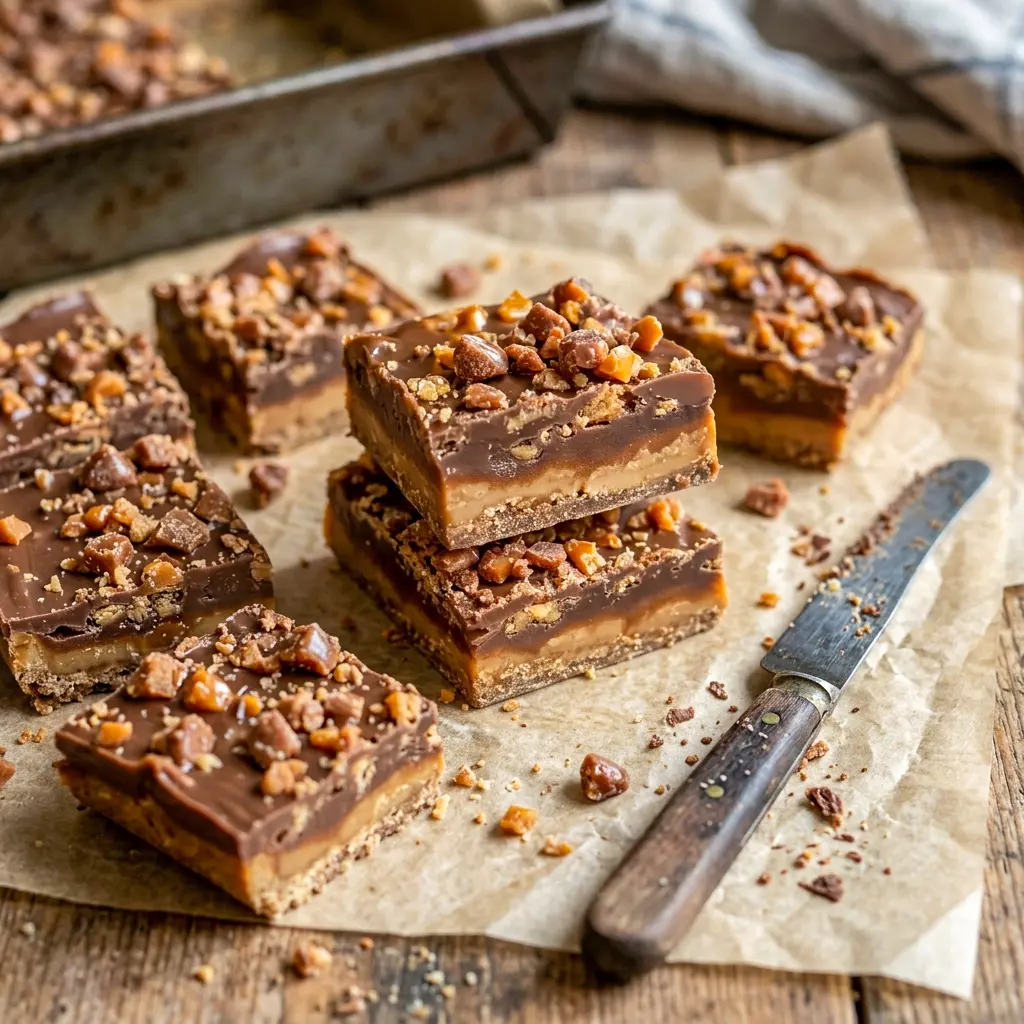
The Key Ingredients (and Why You Need Them)
Here’s a breakdown of what goes into this recipe and why each ingredient matters. I’m skipping exact amounts here since the printable recipe card has those — this section is about understanding the role each ingredient plays, so you know how the layers come together and what you can adjust.
For the Base
- Graham cracker crumbs – The foundation of the whole bar, creating a sturdy, slightly sweet crust that holds up all the layers on top.
- Unsalted butter – Binds the graham cracker crumbs together and adds richness to the crust.
- Granulated sugar – Adds a touch of extra sweetness and helps the crust set up with a bit of crispness once baked.
For the Caramel Layer
- Caramel bits or soft caramels – These melt down into a smooth, gooey layer that holds the Butterfinger pieces in place and adds that classic caramel pull.
- Heavy cream – Helps the caramel melt smoothly and keeps it from becoming too stiff once it cools.
For the Butterfinger Layer
- Crushed Butterfinger candy bars – The star of the show. Crushing the candy bars creates that signature crunchy texture running throughout the bars, giving these Butterfinger Caramel Bars their name and their standout flavor.
For the Chocolate Topping
- Semi-sweet chocolate chips – Melts into a smooth, glossy topping that ties all the layers together.
- Unsalted butter – Helps the chocolate melt smoothly and gives the topping a slightly softer, easier-to-bite texture once set.
Optional Garnish
- Extra crushed Butterfinger pieces – Sprinkled on top for extra crunch and a more eye-catching finished look.
How to Make It
Here’s the general process for building a batch of Butterfinger Caramel Crunch Bars. (Full measurements and the complete step-by-step are on the printable recipe card.)
- Bake the crust. Combine graham cracker crumbs, melted butter, and sugar, then press the mixture firmly into a lined baking pan. Bake until the edges turn lightly golden, then let it cool slightly.
- Melt the caramel. Combine caramel bits and heavy cream in a microwave-safe bowl, microwaving in short intervals and stirring between each, until smooth and fully melted.
- Pour the caramel layer. Spread the melted caramel evenly over the cooled crust, covering it completely.
- Add the Butterfinger layer. Sprinkle crushed Butterfinger candy evenly over the caramel, pressing gently so the pieces stick.
- Melt the chocolate topping. Combine chocolate chips and butter in a microwave-safe bowl, melting in short intervals and stirring until smooth.
- Pour the chocolate over the top. Spread the melted chocolate evenly across the entire surface, covering the Butterfinger layer completely.
- Let the bars set. Cool at room temperature first, then refrigerate until fully set.
- Slice and serve. Lift the bars out using the parchment overhang, then slice into squares, adding a sprinkle of extra crushed Butterfinger on top if you’d like.
Pro Tips for Perfect Butterfinger Caramel Crunch Bars
A handful of details make a real difference with this recipe:
- Line your pan with a parchment overhang. This makes lifting the finished bars out for slicing dramatically easier and helps you get clean, even squares.
- Let the crust cool slightly before adding caramel. Pouring caramel over a piping-hot crust can cause it to slide around instead of setting into an even layer.
- Melt caramel and chocolate slowly. Short microwave intervals with stirring in between prevent scorching and give you a smooth, glossy finish every time.
- Press the Butterfinger pieces in gently. This helps them adhere to the caramel layer so they don’t shift around when you add the chocolate on top.
- Give the bars enough time to set. Rushing the chilling step will leave you with bars that are difficult to slice cleanly.
- Use a sharp knife for slicing. A warm, sharp knife cuts through the chocolate and caramel layers more cleanly than a cold, dull one.
Variations to Try
Once you’ve made the classic version, here are a few fun ways to switch things up:
- Try a no-bake crust. If you’re short on time, press the graham cracker mixture into the pan and chill it instead of baking, for a version closer to Butterfinger Caramel Bars No Bake style.
- Swap the candy bar. Other crunchy candy bars can be substituted for a completely different flavor profile while keeping the same layered structure.
- Add a sprinkle of sea salt. A light dusting of flaky salt over the chocolate layer adds a nice contrast to all that sweetness.
- Make mini bars for parties. Cut the bars smaller for easy, bite-sized servings at a party or potluck.
- Go extra crunchy. Double up on the crushed candy in both the middle layer and the garnish for maximum crunch in every bite of your Butterfinger Crunch Caramel Bars.
Best Ways to Serve
These bars fit into all kinds of occasions:
- At a potluck or party, cut into small squares for easy sharing.
- As an after-dinner treat, served slightly chilled straight from the fridge.
- Packaged up as a gift, wrapped individually or stacked in a tin for a homemade present.
- Alongside a scoop of vanilla ice cream, for an extra-indulgent dessert.
- As part of a dessert spread, next to other bars and cookies for a full sweets table.
Storage Tips for Leftovers
Here’s how to keep your batch of Butterfinger Caramel Crunch Bars fresh:
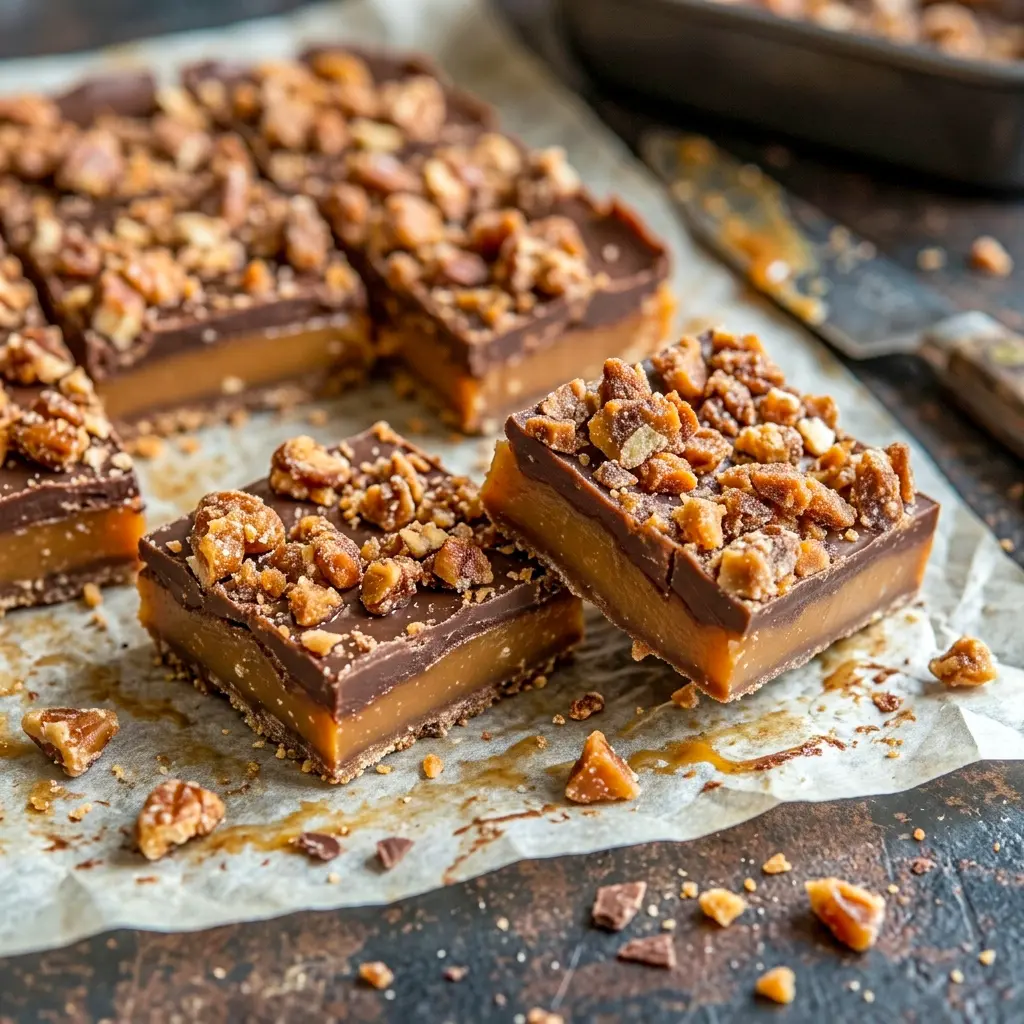
- Room temperature: Store in an airtight container for up to 5 days.
- Refrigerator: These bars keep well in the fridge for up to a week, and the chilled texture is a nice contrast to the gooey caramel layer.
- Slicing ahead: Cut the bars into individual squares before storing so they’re ready to grab whenever a craving hits.
- Freezing: For longer storage, wrap individual bars tightly and freeze, then thaw at room temperature before serving.
Frequently Asked Questions
Can I make these bars without baking the crust?
Yes — pressing the crumb mixture into the pan and chilling it instead of baking works well if you want a version closer to no-bake style, though the baked crust holds together slightly better for slicing.
What can I substitute for caramel bits?
Soft, unwrapped caramels work just as well — simply melt them down with the heavy cream the same way you would the caramel bits.
Can I use a different candy bar?
Absolutely. Other crunchy candy bars can be swapped in for a different flavor twist while keeping the same basic structure of the recipe.
How do I get clean slices?
Make sure the bars are fully set in the fridge before cutting, and use a sharp knife, wiping it clean between cuts for the neatest squares.
How long do these bars last?
They’ll keep for up to 5 days at room temperature in an airtight container, or up to a week in the refrigerator.
Can I freeze these bars?
Yes, wrap individual squares tightly and freeze them, then thaw at room temperature whenever you’re ready to enjoy one.
Final Thoughts
At the end of the day, these Butterfinger Caramel Crunch Bars deliver everything you want in a dessert bar: crunch, gooey caramel, and rich chocolate, all built on a buttery graham cracker base. They come together with simple steps, no special equipment, and ingredients you can easily find at any grocery store, yet they look — and taste — like something far more impressive. Whether you’re making a batch of Butterfinger Crunch Bars for a party or just want a sweet treat to keep in the fridge for yourself, this recipe is guaranteed to become a favorite. Give it a try, and don’t be surprised when it’s the first thing to disappear off the dessert table.
Follow me on Pinterest for daily new recipes.

Butterfinger Caramel Crunch Bars – Crunchy, Gooey & Irresistible
Description
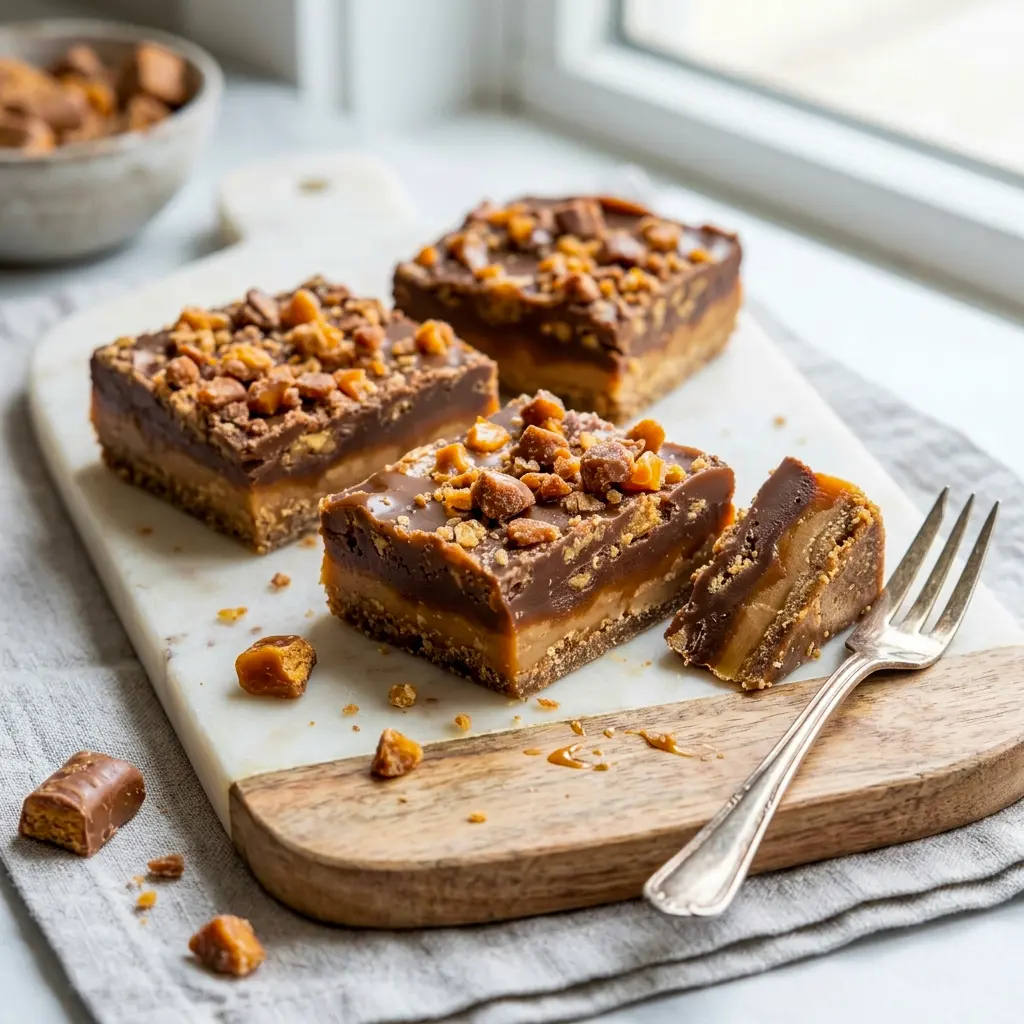
A buttery graham cracker crust, a gooey caramel layer, crushed Butterfinger candy, and a smooth chocolate topping come together in these irresistible dessert bars. They look like a bakery treat, but come together with simple steps and a little patience while they set in the fridge.
Ingredients
For the Base
- 1 ½ cups graham cracker crumbs
- ½ cup unsalted butter, melted
- ¼ cup granulated sugar
For the Caramel Layer
- 1 cup caramel bits or soft caramels, unwrapped
- 2 tablespoons heavy cream
For the Butterfinger Layer
- 1 cup crushed Butterfinger candy bars (about 3–4 bars)
For the Chocolate Topping
- 1 ½ cups semi-sweet chocolate chips
- 1 tablespoon unsalted butter
Optional Garnish
- Extra crushed Butterfinger pieces
Instructions
1. Preheat the Oven and Prep the Pan Set your oven to preheat at 350°F (175°C). While it heats, lightly grease an 8×8-inch baking pan, then line it with a sheet of parchment paper, allowing the paper to hang over two opposite sides of the pan. This overhang will make it much easier to lift the finished bars out cleanly once they’ve set.
2. Mix and Press the Crust In a medium mixing bowl, combine the graham cracker crumbs, melted butter, and granulated sugar. Stir thoroughly with a spoon or spatula until every bit of the crumb mixture looks evenly moistened by the butter, with no dry, powdery patches remaining. Transfer the mixture into your prepared pan, then use the bottom of a measuring cup or the flat side of a spatula to press it firmly and evenly across the bottom of the pan, making sure the layer is compact and level from edge to edge.
3. Bake the Crust Place the pan in the preheated oven and bake for 8 to 10 minutes, watching for the edges of the crust to turn a light golden color. Once you see that golden edge forming, remove the pan from the oven and set it aside on a cooling rack, allowing the crust to cool slightly before moving on to the next layer. The crust should still be warm, but no longer piping hot, when you add the caramel.
4. Melt the Caramel While the crust cools, place the caramel bits (or unwrapped soft caramels) and the heavy cream together in a microwave-safe bowl. Microwave the mixture in 30-second intervals, pausing to stir thoroughly after each interval, until the caramel has fully melted and the mixture looks smooth, glossy, and free of lumps. This gradual melting process helps prevent the caramel from scorching or seizing up.
5. Pour the Caramel Layer Pour the melted caramel directly over the slightly cooled graham cracker crust. Using a spatula, spread the caramel out evenly, working it into the corners of the pan so the entire surface of the crust is covered in a smooth, even layer.
6. Add the Crushed Butterfinger Layer Sprinkle the crushed Butterfinger candy evenly over the top of the caramel layer, distributing the pieces so they cover the surface as consistently as possible. Once scattered, gently press down on the candy pieces with your fingertips or the back of a spoon, just enough to help them adhere to the sticky caramel layer beneath them without pushing them all the way through.
7. Melt the Chocolate Topping In a separate microwave-safe bowl, combine the semi-sweet chocolate chips and the tablespoon of butter. Microwave in 30-second intervals, stirring well after each one, until the chocolate is completely melted and the mixture looks smooth and glossy with no remaining lumps of unmelted chocolate.
8. Pour the Chocolate Layer Pour the melted chocolate mixture over the Butterfinger layer, then use a spatula to spread it out evenly across the entire surface of the pan, making sure it reaches all the edges and fully covers the crushed candy layer beneath it.
9. Cool and Set the Bars Let the assembled bars sit at room temperature for about 30 minutes, giving the chocolate layer a chance to begin firming up before you move the pan. After this initial rest, transfer the pan to the refrigerator and let the bars chill for approximately 2 hours, or until they are completely set all the way through and firm to the touch.
10. Lift, Slice, and Garnish Once fully set, use the parchment paper overhang to lift the entire block of bars out of the pan in one piece, transferring it to a cutting board. Using a sharp knife, slice the block into individual squares or rectangles, wiping the blade clean between cuts for the neatest edges. If desired, sprinkle a few extra pieces of crushed Butterfinger candy over the top of the bars just before serving for added crunch and visual appeal.
11. Store Properly Transfer any leftover bars into an airtight container. They will keep well at room temperature for up to 5 days, or you can store them in the refrigerator for up to a week if you prefer a firmer, chilled texture.
- Category: Dessert