
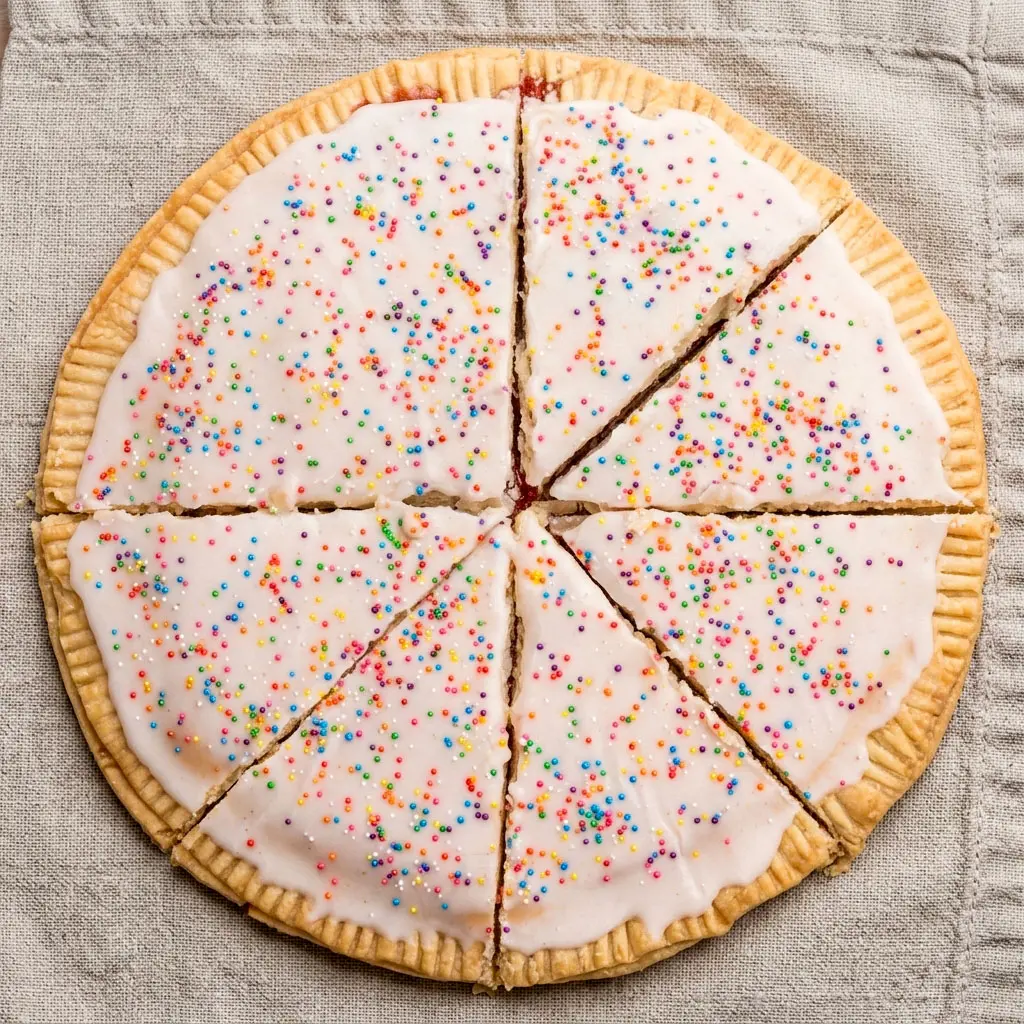
🍓 A Fun Twist on the Classic Giant Pop Tart
The Giant Pop Tart takes everything you love about nostalgic pastries and scales it up into one bold, shareable dessert. This oversized treat uses simple ingredients and transforms them into one of the most fun Funny Easy Desserts you can bake at home. Think flaky crust, gooey filling, and a glossy glaze—this Giant Pop Tart hits every craving in one bite.
💛 Why You’ll Love This Giant Pop Tart
This Giant Pop Tart is more than just a dessert—it’s an experience.
- Quick and simple – perfect for Easy Homemade Poptarts
- Visually impressive – great centerpiece for gatherings
- Kid-friendly – ideal for 4h Baking Projects
- Versatile – works for Dessert For Dinner Ideas or casual treats
- Minimal ingredients – classic Homemade Poptarts With Pie Crust approach
🧾 The Key Ingredients (and Why You Need Them)
Here’s what makes this Giant Pop Tart so successful:
- Pie crusts – The foundation of every great Pie Crust Pop Tart, delivering flaky layers
- Jam filling – Adds sweetness and that signature gooey center (perfect for a Cherry Pop Tart variation)
- Egg wash or butter – Helps create a golden, glossy finish
- Powdered sugar + milk – Forms the smooth glaze topping
- Sprinkles – Optional, but they turn this into one of the most fun Baked Treat Ideas
👩🍳 How to Make It
Step 1: Prep Your Oven
Set your oven to 375°F (190°C). Line a baking tray with parchment paper to prevent sticking and ensure easy cleanup.
Step 2: Lay the Base
Carefully unroll one pie crust and place it flat on your prepared baking sheet. Smooth it out so there are no folds or cracks.
Step 3: Add the Filling
Spread your jam evenly across the surface, leaving about a half-inch border around the edges. This border is crucial—it keeps the filling from leaking out during baking.
Step 4: Top and Seal
Place the second pie crust directly over the first. Gently press down around the edges to seal. Use a fork to crimp all the way around—this locks everything in and creates that classic Giant Pop Tart edge.
Step 5: Vent the Top
Use a knife or fork to create small slits across the top layer. These vents allow steam to escape and prevent the pastry from puffing unevenly.
Step 6: Add Finish Before Baking
Brush the entire top with melted butter or egg wash. This step ensures a golden, bakery-style finish.
Step 7: Bake to Perfection
Place in the oven and bake for 20–25 minutes. Watch for a deep golden color and a crisp crust—this is when your Giant Pop Tart is ready.
Step 8: Cool Slightly
Remove from the oven and let it rest for about 10–15 minutes. This helps the filling settle and prevents the glaze from melting too quickly.
Step 9: Make the Glaze
In a small bowl, whisk powdered sugar with milk until smooth. Adjust thickness as needed. Add a bit of jam or food coloring for a fun twist.
Step 10: Glaze and Decorate
Spread the glaze over the slightly warm pastry. Add sprinkles for a playful finish. Let the glaze set before slicing.
🔑 Pro Tips for the Perfect Giant Pop Tart
- Seal edges היטghtly to avoid leaks
- Don’t overfill—it causes bursting
- Let it cool before glazing for better texture
- Use parchment paper for easy transfer
🔄 Variations to Try
Switch up your Giant Pop Tart with creative fillings:
- Berry blends for a fruity twist
- Chocolate spread for dessert lovers
- Classic Cherry Pop Tart version
- Apple pie filling for cozy flavor
- Peanut butter & jelly for a nostalgic bite
🍽️ Best Ways to Serve
This Giant Pop Tart works for multiple occasions:
- Slice and serve as Dessert For Movie Night
- Pair with ice cream for indulgent Dessert For Dinner Ideas
- Serve warm for maximum flavor
- Add whipped cream for extra richness
🧊 Storage & Leftovers
- Store in an airtight container for up to 2 days
- Reheat in oven for crisp texture
- Avoid microwaving too long—it softens the crust
❓ FAQs
Can I use different crusts?
Yes, but classic Pie Crust Pop Tart style gives the best flaky texture.
Can I make it ahead?
Absolutely. Assemble ahead and bake fresh when ready.
Is it freezer-friendly?
You can freeze before baking, then bake straight from frozen with extra time.
✨ Final Thoughts
The Giant Pop Tart proves that simple ingredients can create something unforgettable. It’s fun, customizable, and perfect for everything from Baked Treat Ideas to casual nights in. Whether you’re baking with kids or making a standout dessert, this oversized pastry delivers every time. Print

Giant Pop Tart Recipe – Easy Homemade Poptarts with Pie Crust
Description
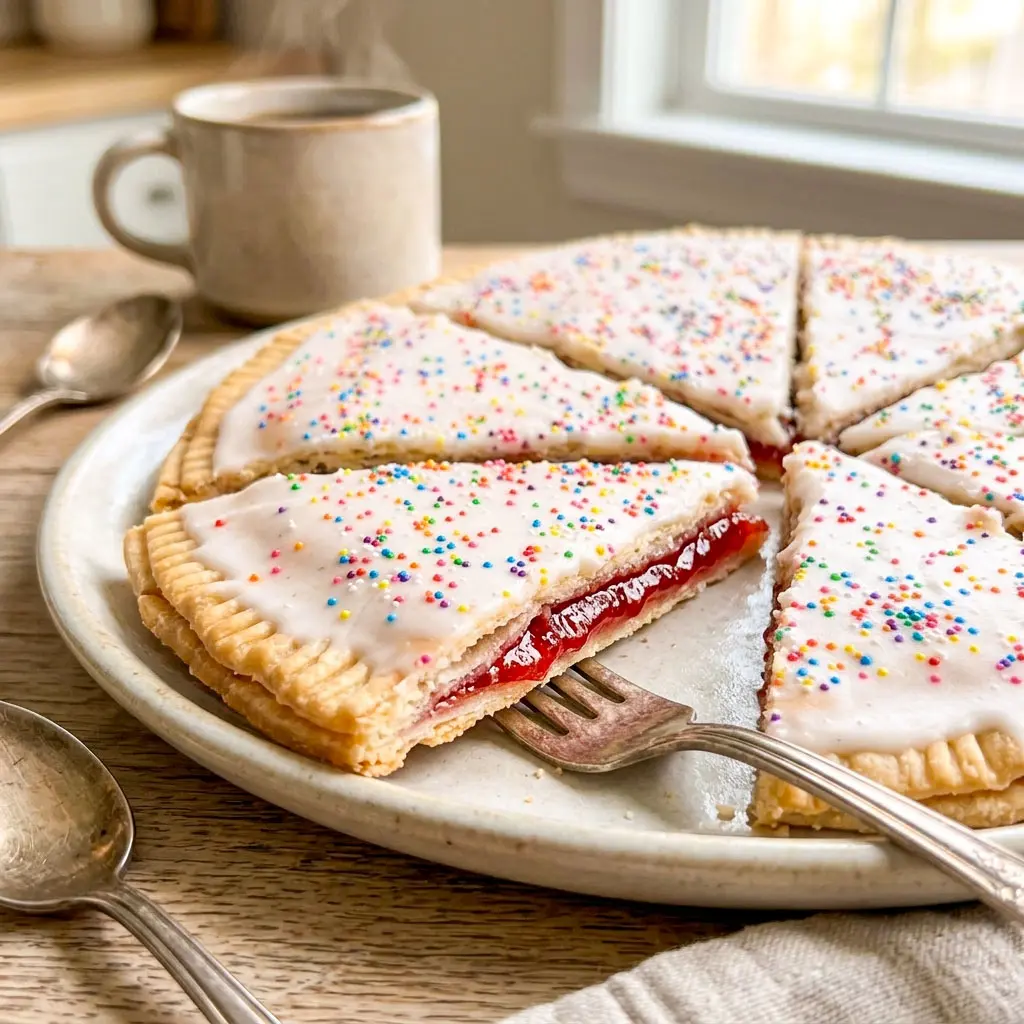
This oversized pastry combines flaky pie crust with a sweet jam filling and a smooth glaze on top. It’s a simple yet eye-catching dessert that delivers nostalgic flavor with minimal effort.
Ingredients
- Refrigerated pie crusts (store-bought)
- Fruit jam (strawberry or preferred flavor)
- Melted butter or egg wash
- Powdered sugar
- Milk
- Optional: food coloring or jam for glaze
- Sprinkles (optional)
Instructions
- Prepare the Oven and Tray: Preheat your oven to 375°F (190°C). Take a large baking sheet and line it with parchment paper. This prevents sticking and ensures even baking.
- Position the First Crust: Remove one pie crust from its packaging and carefully unroll it. Lay it flat onto the prepared baking sheet. Gently press it down so it sits evenly without wrinkles or folds.
- Spread the Filling Evenly: Using a spoon or spatula, spread the jam across the surface of the crust. Keep the layer even and smooth, but make sure to leave about half an inch of space around the edges. This border is essential for sealing later.
- Add the Top Layer: Unroll the second pie crust and carefully place it over the jam-covered base. Align it as closely as possible with the bottom crust.
- Seal the Edges: Press down gently along the edges using your fingers. Then take a fork and press firmly around the entire border. This step locks the filling inside and creates a decorative edge.
- Create Steam Vents: Use a knife or fork to make several small slits across the top crust. These vents allow steam to escape during baking and help maintain structure.
- Apply the Finish: Brush the entire top surface with melted butter or egg wash. This helps achieve a golden, glossy crust once baked.
- Bake Until Golden: Place the tray into the oven and bake for 20 to 25 minutes. Check occasionally—the crust should turn a rich golden brown and feel firm to the touch.
- Cool Before Glazing: Remove from the oven and let the pastry sit for 10 to 15 minutes. This cooling period allows the filling to settle and prevents the glaze from melting off.
- Prepare the Glaze: In a small bowl, combine powdered sugar and milk. Whisk until smooth and lump-free. Adjust consistency by adding more milk or sugar as needed. For extra flavor or color, mix in a small amount of jam or food coloring.
- Finish and Decorate: Spread the glaze evenly over the top of the pastry while it is still slightly warm. Add sprinkles if desired. Let the glaze set completely before slicing.
Notes
- Avoid overfilling to prevent leaks
- Let glaze set fully before cutting
- Best served slightly warm for optimal flavor
- Category: Desserts


