
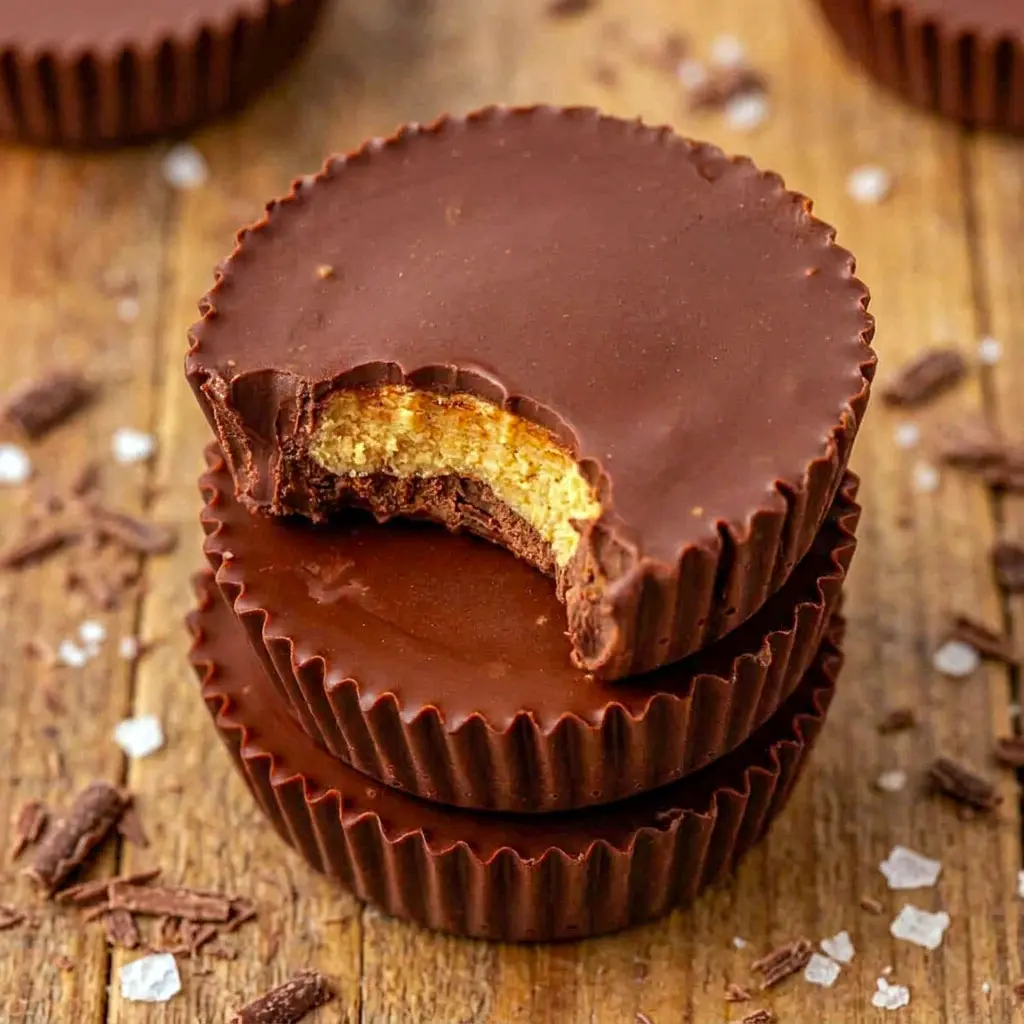
These Protein Reese’s Cups are everything you love about classic peanut butter cups with a protein-packed twist. Rich chocolate surrounds a creamy peanut butter filling, creating a treat that tastes indulgent while delivering extra protein in every bite.
If you’re looking for a healthier dessert that doesn’t taste healthy, these Protein Reese’s Cups are exactly what you need. They’re easy to make, require no baking, and satisfy every chocolate-peanut butter craving.
Why You’ll Love These Protein Reese’s Cups
There are so many reasons to keep a batch of Protein Reese’s Cups in your refrigerator or freezer:
- No baking required
- Rich chocolate flavor
- Creamy peanut butter center
- Protein-packed filling
- Easy meal prep dessert
- Freezer-friendly
- Made with simple ingredients
- Perfect sweet snack option
Unlike many protein desserts, these Protein Reese’s Cups taste like actual candy.
What Makes These Protein Reese’s Cups So Good?
The secret is balance.
The chocolate shell stays rich and smooth while the peanut butter filling remains creamy and flavorful. The vanilla protein powder blends into the filling without overpowering the classic peanut butter cup flavor.
The result is a batch of Protein Reese’s Cups that tastes remarkably close to the original candy.
Whether you call them Protein Reeses, Protein Reeses Cups, or Healthy Protein Peanut Butter Cups, they’re always a crowd favorite.
The Key Ingredients (and Why You Need Them)
Each ingredient plays an important role in creating perfect Protein Reese’s Cups. Here’s what each one brings to the recipe.
Semi-Sweet Chocolate Chips
Chocolate creates the shell that surrounds the creamy filling. You can also use dark chocolate if preferred.
Coconut Oil
A small amount helps the chocolate melt smoothly and creates a glossy finish.
Vanilla Extract
Adds depth and enhances both the chocolate and peanut butter flavors.
Natural Peanut Butter
The heart of every great Protein Peanut Butter Cups recipe. Use a variety made with only peanuts and salt.
Vanilla Protein Powder
Provides the extra protein while helping create the perfect filling texture.
Maple Syrup
Adds sweetness and helps the filling stay soft and creamy.
Salt
Balances sweetness and intensifies the peanut butter flavor.
How to Make It
Step 1: Melt the Chocolate
Place the chocolate chips and coconut oil into a microwave-safe bowl.
Heat in short intervals, stirring between each round until completely smooth.
Stir in the vanilla extract.
Step 2: Create the Chocolate Base
Line a standard muffin tin with parchment paper liners.
Add a spoonful of melted chocolate to each liner.
Spread the chocolate all the way to the edges to create an even bottom layer.
Repeat until all cups are prepared.
Place the pan into the refrigerator.
Step 3: Prepare the Peanut Butter Filling
Add peanut butter to a microwave-safe bowl.
Warm briefly until smooth and pourable.
Mix in the protein powder, maple syrup, and salt.
Stir until a thick filling forms.
Step 4: Shape the Filling
Divide the filling into equal portions.
Flatten each portion into a small disc slightly smaller than the muffin liner.
This helps the filling stay centered inside the Protein Reese’s Cups.
Step 5: Assemble the Protein Reese’s Cups
Remove the muffin tin from the refrigerator.
Place one peanut butter disc into each chocolate cup.
Press gently so it sits evenly.
Step 6: Add the Final Chocolate Layer
If necessary, rewarm the remaining chocolate.
Spoon or drizzle the chocolate over each peanut butter center.
Spread the chocolate evenly so the filling becomes completely covered.
Step 7: Chill Until Firm
Return the Protein Reese’s Cups to the refrigerator.
Allow them to chill until completely set.
Once firm, they’re ready to enjoy.
Pro Tips for Perfect Protein Reese’s Cups
Spread the Chocolate Evenly
Make sure the chocolate fully covers the bottom and sides.
Use Natural Peanut Butter
Natural peanut butter creates the best texture for Protein Peanut Butter Cups.
Don’t Skip Chilling
Proper chilling helps the layers hold together.
Add Flaky Sea Salt
A sprinkle of flaky salt creates incredible sweet-and-salty flavor.
Use High-Quality Chocolate
Better chocolate creates better Protein Reese’s Cups.
Variations to Try
Dark Chocolate Version
Swap semi-sweet chocolate for dark chocolate.
Extra Chocolate Protein Cups
Use chocolate protein powder for a richer filling.
Vegan Version
Use dairy-free chocolate and vegan protein powder.
Crunchy Peanut Butter Cups
Use crunchy peanut butter for extra texture.
Nut-Free Alternative
Try sunflower seed butter instead.
Healthier Candy Option
These make fantastic Healthier Peanut Butter Cups when you’re craving sweets.
Best Ways to Serve
These Protein Reese’s Cups are delicious:
- Straight from the refrigerator
- Frozen for a firmer texture
- After workouts
- As an afternoon snack
- As a healthier dessert option
- Packed in lunch boxes
They’re one of the easiest Protein Cups you can make ahead for the week.
Storage and Leftovers
Store Protein Reese’s Cups in an airtight container.
- Refrigerator: up to 1 week
- Freezer: 1 to 2 months
Many people prefer eating these frozen because the texture becomes even more candy-like.
Frequently Asked Questions
Are Protein Reese’s Cups healthy?
These Protein Reese’s Cups contain extra protein and simple ingredients, making them a more balanced treat than traditional candy.
Can I make vegan Protein Reese’s Cups?
Yes. Use dairy-free chocolate and vegan protein powder.
What protein powder works best?
Vanilla protein powder creates the classic peanut butter cup flavor, but chocolate also works well.
Can I use almond butter?
Absolutely. Almond butter creates a delicious variation.
How To Make Protein Peanut Butter Cups with different flavors?
You can swap the protein powder flavor, use different nut butters, or add mix-ins like chopped nuts or mini chocolate chips.
How To Make Protein Cups even higher in protein?
Use a high-protein powder and slightly increase the amount used in the filling.
Are these High Protein Reeses suitable for meal prep?
Definitely. These High Protein Reeses store extremely well and are perfect for preparing ahead.
Final Thoughts
If you love chocolate and peanut butter, these Protein Reese’s Cups deserve a permanent spot in your freezer. They combine the flavor of classic candy with the benefits of added protein, creating a treat that’s both satisfying and delicious.
Whether you’re searching for Protein Peanut Butter Cups, Protein Reeses Cups, Healthy Protein Peanut Butter Cups, Protein Cups, or learning How To Make Protein Peanut Butter Cups, this recipe delivers amazing results every time. Once you make these Protein Reese’s Cups, you’ll want to keep a batch on hand at all times. Print

Protein Reese’s Cups – Easy No-Bake Healthy Protein Peanut Butter Cups
- Total Time: 1 hour 20 minutes
- Yield: 12 servings 1x
Description
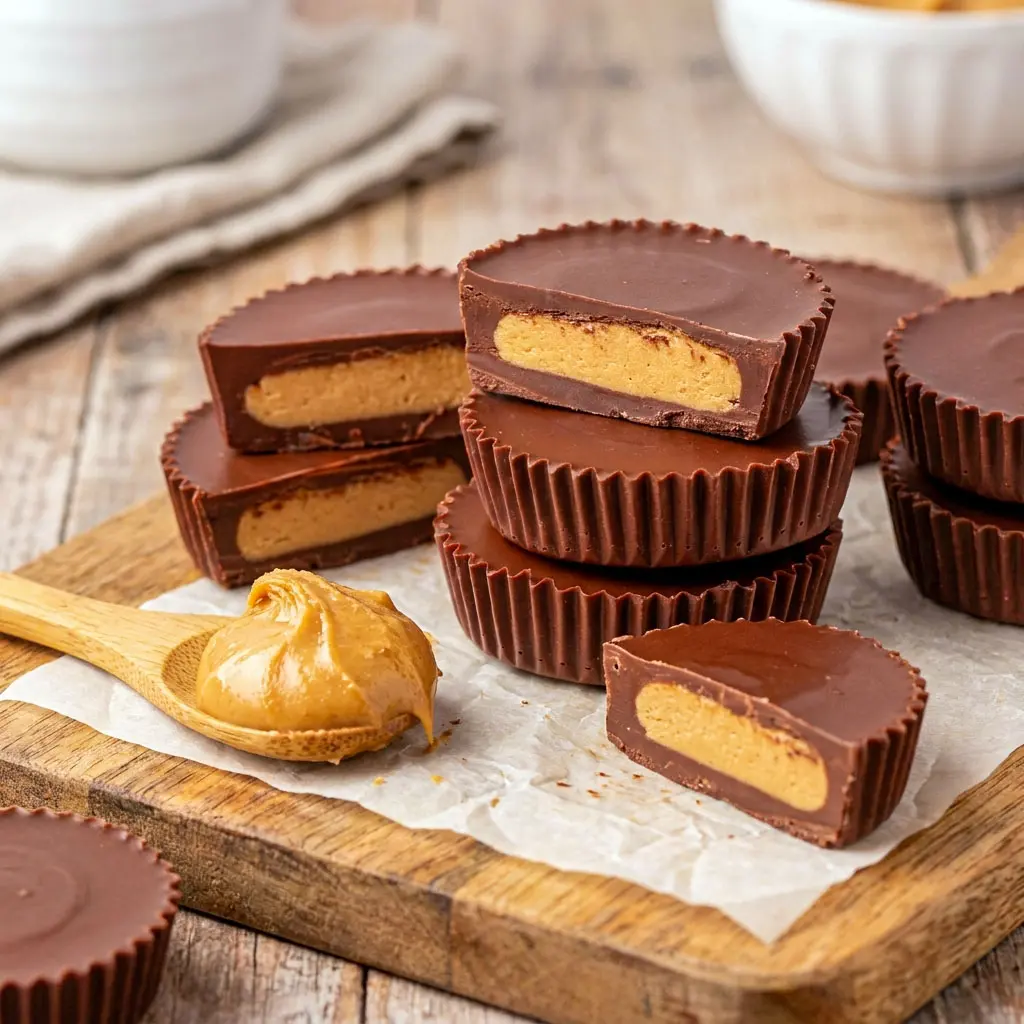
These homemade protein peanut butter cups feature a rich chocolate shell wrapped around a creamy peanut butter protein filling. They’re completely no-bake, easy to prepare, freezer-friendly, and perfect when you want a healthier version of your favorite candy.
Ingredients
Chocolate Layer
- 12 ounces semi-sweet chocolate chips
- 1 teaspoon coconut oil
- ¼ teaspoon vanilla extract
Peanut Butter Protein Filling
- ¼ cup natural creamy peanut butter
- 2 tablespoons pure maple syrup
- ⅓ cup vanilla protein powder
- ¼ teaspoon salt
Instructions
- Prepare the Muffin Pan
- Place parchment paper muffin liners into all 12 cups of a standard muffin pan.
- Make sure each liner sits flat against the sides to help create evenly shaped peanut butter cups.
- Set the prepared pan aside.
- Melt the Chocolate Mixture
- Add the chocolate chips and coconut oil to a microwave-safe bowl.
- Heat the mixture in 30-second intervals.
- After each interval, stir thoroughly before returning it to the microwave.
- Continue this process until the chocolate becomes completely melted, smooth, and glossy.
- Once melted, stir in the vanilla extract until fully incorporated.
- Create the Chocolate Base
- Spoon a generous teaspoon of melted chocolate into the bottom of each muffin liner.
- Using the back of a spoon, gently spread the chocolate toward the edges.
- Cover the entire base with an even layer.
- Repeat with all muffin liners.
- For a smoother finish, lightly tap the muffin pan against the countertop several times. This helps the chocolate settle evenly.
- Transfer the pan to the refrigerator while preparing the filling.
- Prepare the Peanut Butter Filling
- Add the peanut butter to a microwave-safe bowl.
- Heat for approximately 15 to 20 seconds or until it becomes soft and easy to stir.
- Add the vanilla protein powder, maple syrup, and salt.
- Mix thoroughly until a thick, smooth filling forms.
- Continue stirring until no dry pockets remain.
- Form the Filling Discs
- Divide the peanut butter mixture into 12 equal portions.
- Shape each portion into a flat round disc.
- Keep each disc slightly smaller than the width of the muffin liners so the chocolate can fully surround the filling later.
- Arrange the discs on a plate or sheet of parchment paper.
- Assemble the Peanut Butter Cups
- Remove the muffin pan from the refrigerator.
- Place one peanut butter disc into the center of each chocolate-lined cup.
- Press lightly so the filling settles evenly.
- Make sure none of the filling touches the edges of the liner.
- Add the Top Chocolate Layer
- Check the remaining melted chocolate.
- If it has thickened or started to harden, microwave it briefly for 15 to 20 seconds and stir until smooth again.
- Spoon the chocolate over each peanut butter center.
- Spread the chocolate carefully so it reaches all edges and completely seals the filling inside.
- Use the back of a spoon to smooth the tops.
- Chill Until Firm
- Return the muffin pan to the refrigerator.
- Allow the peanut butter cups to chill for approximately one hour or until fully firm.
- The chocolate should feel set and no longer soft when touched.
- Serve and Store
- Once set, remove the peanut butter cups from the muffin liners.
- Serve immediately or transfer them to an airtight storage container.
Notes
Storage Instructions
- Store the peanut butter cups in the refrigerator for up to one week.
- For longer storage, place them in the freezer where they will keep well for up to two months.
- Many people prefer enjoying them directly from the freezer because the texture becomes even firmer and more candy-like.
Vegan Option
- To make a vegan version, use a plant-based vanilla protein powder and choose dairy-free chocolate chips. The preparation method remains exactly the same.
- Prep Time: 20 minutes
- Cook Time: 1 hour
- Category: Desserts
Nutrition
- Calories: 220 kcal
- Sugar: 13 g
- Sodium: 79 mg
- Fat: 14 g
- Saturated Fat: 7 g
- Unsaturated Fat: 5 g
- Trans Fat: 0.02 g
- Carbohydrates: 19 g
- Fiber: 3 g
- Protein: 5 g
- Cholesterol: 7 mg


