
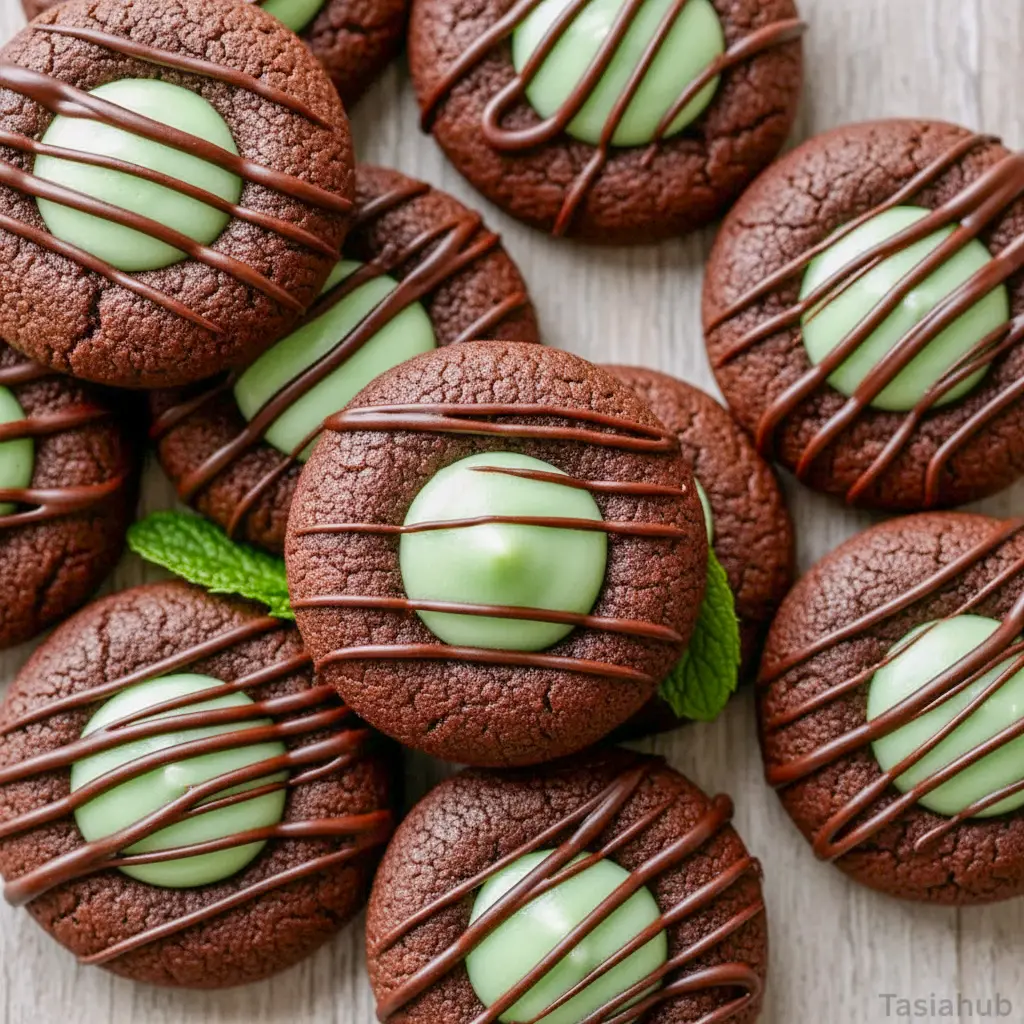
Chocolate Mint Thumbprint Cookies set the tone the second they come out of the oven. Rich cocoa, soft centers, and that cool minty filling? Instant holiday magic. You know the feeling—warm lights, cozy music, maybe a mug of hot cocoa nearby. These cookies belong in that moment.
If you’ve ever found yourself craving Mint Cookies Christmas style but wanting something a little more special than the usual slice-and-bake, this recipe delivers. It keeps the nostalgic flavors you love while adding that thumbprint flair that looks bakery-level fancy… without the stress. IMO, that’s the sweet spot.
These cookies strike the perfect balance between indulgent and refreshing. Chocolate brings depth. Mint adds brightness. Together? Total harmony. They’re festive enough for holiday parties, easy enough for weeknight baking, and cute enough to gift. Honestly, they check every cookie box.
Let’s talk about why these belong on your baking list this season—and probably every season after that.
Why these Chocolate Mint Thumbprint Cookies are so irresistible
Ever notice how some cookies disappear faster than others? These are that cookie.
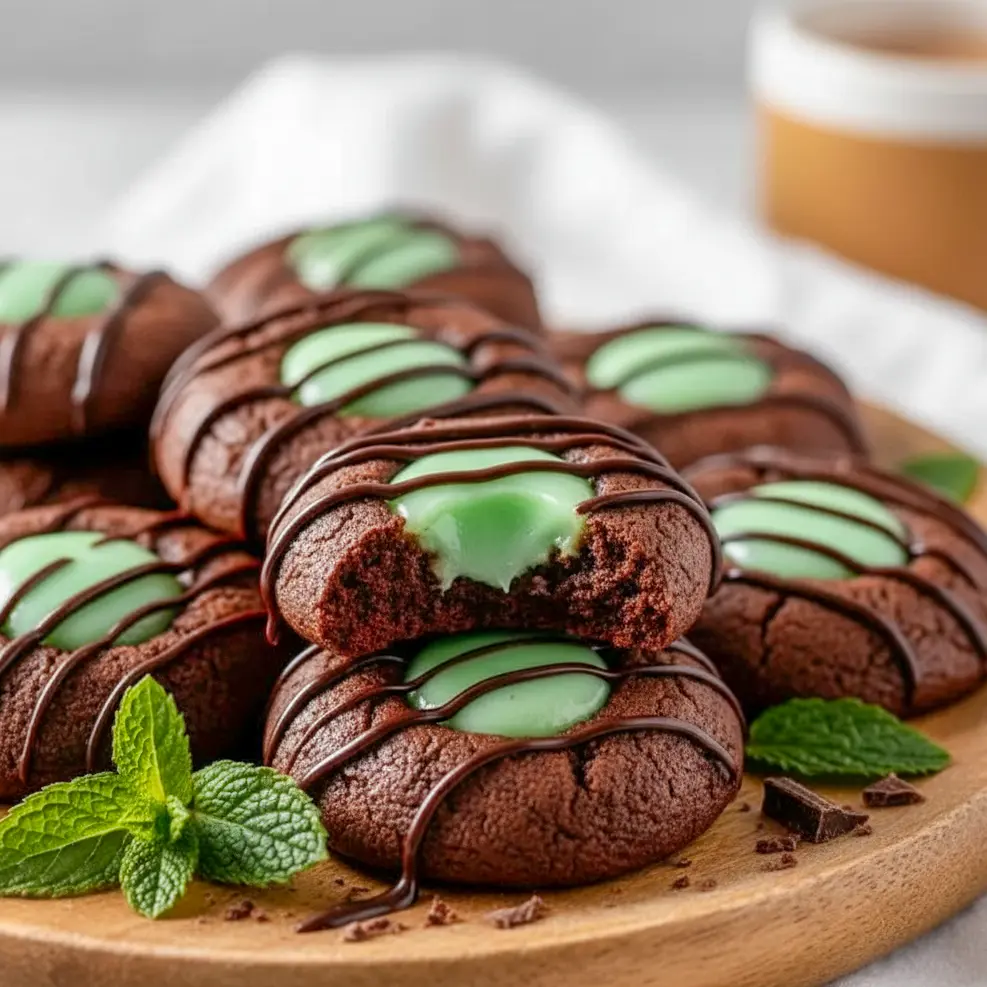
First, the texture. The base is soft, tender, and slightly chewy—never dry. The center stays creamy, smooth, and melt-in-your-mouth. That contrast alone keeps people reaching for “just one more.”
Second, the flavor combo. Chocolate and mint are classic for a reason. The cocoa flavor feels rich but not heavy, while the mint keeps everything tasting fresh. It’s why Mint Chocolate Desserts always feel indulgent without being overwhelming.
Third, the look. Let’s be real—presentation matters during the holidays. That glossy mint center gives serious Green Christmas Cookies vibes. Add a little chocolate drizzle, and suddenly your cookie tray looks Pinterest-worthy.
And finally? They’re shockingly easy. No chilling marathons. No complicated shaping. Just mix, roll, press, bake, fill. Done.
FYI: these cookies make you look like that baker—even if you’re not.
What makes these cookies holiday-perfect (and not just another chocolate cookie)
There’s a reason these shine among Christmas Cookies Mint lovers.
They feel festive without screaming novelty. The mint filling gives subtle winter vibes, especially when tinted green, making them ideal Green Mint Cookies for holiday spreads. But they’re still timeless enough that no one’s thinking “food coloring gimmick.”
They also fit right in with other classics. Put them next to gingerbread, sugar cookies, and shortbread, and they hold their own. That’s not easy to do.
Plus, they work for everyone. Chocolate fans? Covered. Mint lovers? Thrilled. People who like softer cookies over crunchy ones? Sold.
If you’re building a tray of Mint Christmas Cookies, this recipe deserves a front-row spot.
Ingredient breakdown: simple, familiar, and doing the most
You don’t need anything fancy here. Each ingredient has a job, and it does it well.
For the chocolate cookie base
- Unsalted butter – Brings richness and keeps the cookies tender
- Granulated sugar – Sweetens and helps with that soft bite
- Egg yolk – Adds richness without drying things out
- Vanilla extract – Rounds out the chocolate flavor
- All-purpose flour – Gives structure without heaviness
- Unsweetened cocoa powder – Deep chocolate flavor is the goal
- Salt – Enhances everything (don’t skip it)
For the mint filling
- Powdered sugar – Creates a smooth, creamy texture
- Butter – Adds richness and helps it set
- Milk or cream – Adjusts consistency
- Peppermint extract – The star of the show
- Green food coloring (optional) – For classic Mint Cookies Christmas vibes
Optional chocolate finish
- Chocolate chips – Because more chocolate is never wrong
Key tip: Quality cocoa powder makes a noticeable difference. If you’ve got Dutch-processed, use it.
How to make Mint Thumbprint Cookies without overthinking it
This process is friendly. No stress baking allowed.
Step 1: Prep your space
Preheat your oven and line your baking sheets. Get everything measured. Baking flows better when you’re not scrambling.
Step 2: Cream butter and sugar
Beat until light and fluffy. This step matters—it’s what keeps the cookies soft instead of dense.
Step 3: Add yolk and vanilla
Mix just until combined. Overmixing here can mess with texture.
Step 4: Combine dry ingredients
Whisk flour, cocoa powder, and salt together so everything distributes evenly.
Step 5: Bring it together
Add dry ingredients to wet slowly. Mix just until you no longer see flour. Stop there.
Pro tip: Overmixing = tough cookies. We don’t want that energy.
Step 6: Shape and press
Roll dough into balls. Press a thumbprint into the center. If cracks form, gently smooth them.
Step 7: Bake
Bake until edges are set but centers still look soft. They’ll finish setting as they cool.
Step 8: Cool completely
This is non-negotiable. Warm cookies will melt the filling.
The mint filling: small step, big payoff
This is where the magic happens.
Beat powdered sugar, butter, peppermint extract, and cream until smooth. You want it thick but pipeable—not runny, not stiff.
Add food coloring if you want that classic Green Christmas Cookies look. Totally optional, but highly festive.
Spoon or pipe filling into cooled thumbprints. Don’t overfill—flat and smooth looks best.
Chocolate drizzle: optional, but highly encouraged
Melt chocolate gently and drizzle lightly over the tops. This adds contrast, richness, and that bakery-style finish people love.
Quick fix: If chocolate thickens too fast, stir in a tiny bit of neutral oil.
The story behind these cookies (and why they always show up on my table)
These started as a “let’s try something new” cookie years ago. I wanted something chocolatey but not heavy, minty but not toothpaste-level intense.
One batch later, they became a tradition.
Now they’re the cookies people ask for. The ones that disappear first. The ones that somehow taste even better straight from the fridge at midnight. You know the type.
They’ve earned their place among my favorite Mint Cookie Recipes—and I don’t say that lightly.
Pro tips for bakery-level results
- Chill dough if it feels sticky – 15 minutes works wonders
- Re-press thumbprints after baking – Do it while warm
- Measure flour correctly – Spoon and level, always
- Use real butter – Margarine won’t give the same texture
- Fill only once cookies are cool – Patience pays off
Fun variations to try
Want to mix things up? Go for it.
- Swap mint for vanilla or almond extract
- Add crushed candy canes on top
- Use white chocolate drizzle instead
- Skip food coloring for a minimalist look
- Add espresso powder to the dough for depth
These tweaks still keep the heart of Mint Thumbprint Cookies intact.
Best ways to serve them
- With hot cocoa or peppermint mocha
- On a mixed holiday cookie platter
- Wrapped as edible gifts
- After dinner with coffee
- Straight from the fridge (trust me)
They shine in every setting.
Storage and leftovers (if you even have any)
- Room temp: 3 days in an airtight container
- Fridge: Up to 7 days
- Freezer (baked): 2 months
- Freezer (unbaked): Freeze dough balls and bake later
Layer with parchment so the filling stays neat.
FAQs about Chocolate Mint Thumbprint Cookies
Can I make these ahead?
Yes. Dough and baked cookies both store beautifully.
Do I have to color the filling?
Nope. Flavor stays the same.
Why did my cookies crack?
Dough may be too dry. Slightly warm dough helps.
Can I double the recipe?
Absolutely. Just mix in batches.
What cocoa works best?
Dutch-processed for smoother flavor, but regular works too.
Final thoughts
These Chocolate Mint Thumbprint Cookies hit that perfect holiday sweet spot. They’re cozy, festive, and just a little fancy without being fussy. Whether you’re baking for family, friends, or yourself (no judgment), they deliver every single time.
If you’re building a lineup of Mint Christmas Cookies, don’t skip these. They’re classic, reliable, and dangerously snackable. And once you make them once? Yeah… they’re coming back every year.
Go preheat that oven. Your cookie tray is about to level up. 🎄🍪 Print

Ultimate Chocolate Mint Thumbprint Cookies – Classic Mint Cookies Christmas Style
- Total Time: 35 minutes
- Yield: 30 servings 1x
Description
When the holidays roll around, cookies that feel nostalgic and a little dressed up always steal the spotlight. These chocolate mint thumbprint cookies hit that sweet spot perfectly, blending rich cocoa flavor with a smooth, refreshing mint center that feels right at home on any Christmas cookie tray.
Ingredients
Chocolate Cookie Dough
- 1 cup unsalted butter, softened to room temperature
- ¾ cup white sugar
- 1 large egg yolk
- 1 teaspoon vanilla extract
- 1¾ cups all-purpose flour
- ½ cup unsweetened cocoa powder
- ¼ teaspoon salt
Mint Filling
- 1 cup powdered sugar
- 1 tablespoon unsalted butter, softened
- 1–2 tablespoons milk or heavy cream
- ½ teaspoon peppermint extract
- Green food coloring (optional)
- ½ cup semi-sweet chocolate chips, for finishing
Instructions
- Get the oven ready
- Heat your oven to 350°F. If you’re using convection, lower the temperature to 325°F. Line two baking sheets with parchment paper or silicone mats and set aside.
- Tip: Butter should feel soft but not shiny or greasy—press it lightly and it should give without melting.
- Mix the cookie dough
- In a large bowl, beat the softened butter and sugar together until pale and fluffy, about 2–3 minutes. Add the egg yolk and vanilla, mixing just until incorporated.
- In a separate bowl, stir together the flour, cocoa powder, and salt. Slowly add the dry ingredients to the butter mixture on low speed, mixing only until the dough comes together. If the dough feels crumbly, add milk or cream one teaspoon at a time until it holds.
- Shape the cookies
- Scoop tablespoon-sized portions of dough and roll into smooth balls. Arrange them on the prepared baking sheets, spacing them about 2 inches apart.
- Press an indentation into the center of each dough ball using your thumb or the back of a spoon. If cracks appear, gently pinch and smooth the edges back together.
- Bake
- Bake one tray at a time for 9–11 minutes, rotating halfway through for even baking. The edges should look set while the centers remain soft.
- Let cookies rest on the baking sheet for 5 minutes before transferring them to a wire rack to cool completely.
- Reminder: Cookies firm up as they cool—don’t overbake.
- Prepare the mint filling
- In a medium bowl, beat powdered sugar and softened butter until smooth. Add peppermint extract and just enough milk or cream to create a thick but spoonable consistency.
- If using food coloring, add a drop or two and stir until evenly tinted. Transfer the filling to a piping bag or a zip-top bag with the corner snipped.
- Fill the cookies
- Once the cookies are fully cooled, pipe or spoon a small amount of mint filling into each indentation. Keep the filling level with the cookie surface rather than piled high.
- If the centers puffed up during baking, gently press them down before filling.
- Add the chocolate topping
- Melt the chocolate chips in a microwave-safe bowl in short bursts, stirring between each interval until smooth. Drizzle lightly over the filled cookies or add a small dot of chocolate to the center.
- Fix-it tip: If chocolate thickens too quickly, stir in a tiny amount of neutral oil to smooth it out.
- Set and serve
- Allow the cookies to sit until the filling and chocolate firm up—about 30 minutes at room temperature or 10–15 minutes in the refrigerator. Serve once set.
- Storage & make-ahead options
- Room temperature: Store in an airtight container with parchment between layers for up to 3 days.
- Refrigerator: Keeps well for up to 1 week.
- Freezer: Freeze unbaked dough balls for up to 3 months and bake straight from frozen, adding a few extra minutes. You can also freeze baked, unfilled cookies and add the filling after thawing.
- Filling prep: Mint filling can be made ahead and stored in the fridge for several days—stir before using.
- Prep Time: 25 minutes
- Cook Time: 10 minutes
- Category: Desserts
Nutrition
- Calories: 120–140 kcal
- Sugar: 11 g
- Sodium: 45 mg
- Fat: 6 g
- Saturated Fat: 3.5 g
- Carbohydrates: 18 g
- Fiber: 1 g
- Protein: 1 g


