
Prepped Snacks are the secret weapon for anyone who wants to snack smarter without giving up flavor—and these Cream Cheese Oreo Protein Balls prove it right from the first bite. Ever stand in front of the fridge thinking, “I want something sweet… but I also don’t want to ruin my progress”? Same. That exact moment is why this recipe exists. It’s indulgent, it’s protein-packed, and yes, it tastes like dessert pretending to be a fitness snack. Honestly? It might be the snack glow-up Oreos never saw coming.
These little bites blur the line between treat and fuel. They feel like cheating, but they’re not. And IMO, that’s the best kind of recipe.
Prepped Snacks That Actually Feel Like a Treat
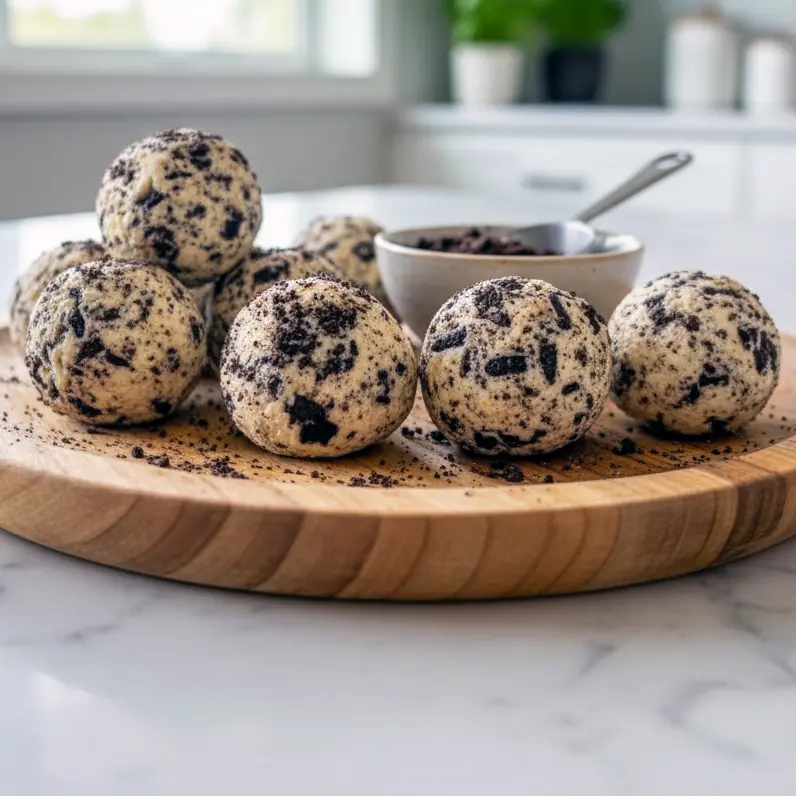
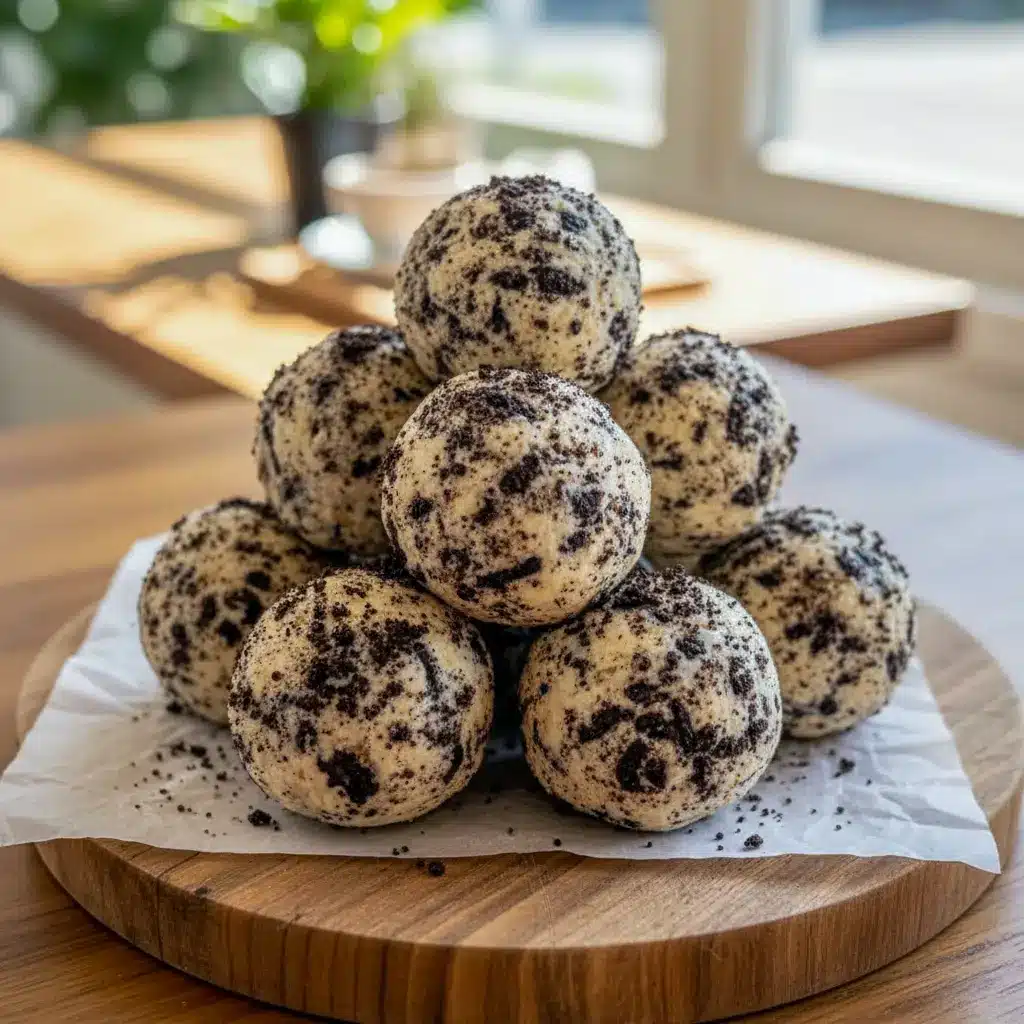
Let’s set the scene. You’ve got crushed Oreos, creamy cheese, and protein powder all coming together in one bowl. No oven. No mixer drama. No complicated steps that make you rethink the whole thing halfway through. Just a few ingredients, a little mixing, and suddenly you’ve got a tray of snacks that look like bakery truffles and act like gym fuel.
What makes these Cream Cheese Oreo Protein Balls stand out is balance. They don’t scream “health food,” and they don’t knock you into a sugar crash either. They sit perfectly in that sweet spot—rich enough to satisfy cravings, structured enough to keep you full. That’s why they’re a go-to for Healthy No Bake Snacks and why they show up week after week in meal prep routines.
And let’s be real for a second—how many “protein snacks” actually taste good cold, straight from the fridge? These do. Every time.
What Makes These Protein Balls So Irresistible?
Is it the cookies-and-cream vibe? The cheesecake-like texture? Or the fact that they take about 15 minutes of actual effort? Yes. All of the above.
Here’s what hooks people fast:
- Flavor that feels nostalgic. Oreos bring that familiar, comforting sweetness.
- Creamy, dough-like texture. Soft, rich, and never chalky.
- No baking required. Perfect for hot days or zero-motivation moments.
- Protein that actually satisfies. Not just sprinkled in for label appeal.
- Grab-and-go convenience. Toss them in a container and you’re set.
That’s why they fit seamlessly into High Protein Easy Snacks routines and why athletes, busy parents, and late-night snackers all swear by them.
Ingredients That Pull Their Weight
This recipe keeps things simple, but every ingredient earns its spot. No fillers. No weird stuff you’ll never use again.
Cream Cheese
The backbone of the recipe. It brings richness, structure, and that cheesecake-style creaminess. Softened is key—cold cream cheese fights back.
Oreos
Crushed whole, filling included. They provide sweetness, texture, and that classic cookies-and-cream flavor. You can adjust the amount depending on how dessert-forward you want things.
Protein Powder
This is where the magic shifts from treat to fuel. Vanilla keeps things classic, chocolate adds depth. Whey blends smoothly, while plant-based versions work with a bit more liquid.
Milk (Dairy or Plant-Based)
Just enough to bring everything together. Think of it as texture control rather than a main ingredient.
Vanilla Extract + Salt (Optional but Recommended)
Vanilla rounds out the flavor. Salt keeps everything from tasting flat. Small additions, big impact.
Optional mix-ins like chocolate chips, coconut, or chopped nuts turn these into full-on Diy High Protein Snacks that feel customized, not basic.
How to Make Them Without Overthinking It
You don’t need fancy equipment. You don’t need baking skills. You just need a bowl and a little patience while they chill.
Step 1: Crush the Oreos
Bag them up and smash them with a rolling pin, or pulse them in a processor. Aim for mostly fine crumbs with a few chunks for texture. Too powdery and they lose character.
Step 2: Soften the Cream Cheese
Room temperature is your friend. Soft enough to stir smoothly, not melted into soup. If you rush this step, the texture suffers.
Step 3: Mix the Base
Combine the cream cheese and Oreo crumbs until uniform. This should look like thick cookie dough before you even add protein powder.
Step 4: Add Protein Powder Gradually
Stir it in a bit at a time. The mixture will stiffen as you go. If it feels dry, add milk slowly—tablespoon by tablespoon.
Step 5: Flavor Boost
Add vanilla, salt, and any mix-ins. Taste it. Adjust. This is your moment.
Step 6: Roll and Chill
Scoop, roll, and line them up on parchment. Chill until firm. That’s it.
This simple process is why they’re popular among fans of No Bake Protein Snacks and Simple High Protein Snacks alike.
The Story Behind the Recipe
This recipe started as a question: “Can a protein snack actually feel indulgent?” Not just edible. Not just tolerable. But crave-worthy.
The first test batch leaned too healthy. Too dry. Too “protein bar energy.” Back to the drawing board. More creaminess. Better balance. Fewer compromises. That’s when the cream cheese-and-Oreo combo clicked.
It felt like upgrading a classic Oreo truffle into something smarter. Same vibe. Better macros. Suddenly, these weren’t just snacks—they were Make Ahead High Protein Meals in bite-sized form.
They’ve since become a staple for gym bags, late-night cravings, and even dessert platters where no one realizes they’re “healthy.” Mission accomplished.
Pro Tips for the Best Results
Want bakery-level protein balls? These tips matter.
- Use room-temperature ingredients. Cold cream cheese = lumpy dough.
- Go slow with liquid. You can add more, but you can’t undo it.
- Aim for playdough texture. Soft, pliable, not sticky.
- Chill before serving. Texture improves after resting.
- Taste before rolling. Adjust sweetness or flavor early.
These little tweaks separate okay snacks from next-level Prepped Snacks you actually look forward to eating.
Variations Worth Trying
Once you’ve mastered the base, it’s hard not to experiment.
Chocolate Peanut Butter
Add peanut butter and chocolate protein powder. Rich, filling, elite.
Golden Oreo Vanilla
Swap in Golden Oreos and vanilla protein for a lighter, cake-like flavor.
Mocha Crunch
A pinch of espresso powder turns these into coffee-shop vibes.
Coconut Cream
Mix in shredded coconut and roll the balls in extra flakes.
These variations make them ideal for Protein Powder Baking Recipes without ever turning on the oven.
Best Ways to Serve Them
Straight from the fridge? Perfect. After a workout? Even better. On a snack board next to fruit and nuts? Surprisingly fancy.
They also shine as:
- Post-workout fuel
- Mid-afternoon pick-me-up
- Late-night dessert alternative
- On-the-go bites for busy days
That versatility is why they’re popular among Snacks For Wrestlers, gym enthusiasts, and anyone juggling long days and big appetites.
Storage and Make-Ahead Tips
These are built for prep. Make them once, enjoy them all week.
- Fridge: Store in an airtight container for up to 5 days.
- Freezer: Freeze for up to 2 months. Thaw overnight or eat slightly frozen for a firmer bite.
- Meal prep win: Portion them into containers for grab-and-go ease.
They’re proof that Make Ahead High Protein Meals don’t have to be boring—or big.
FAQs About Cream Cheese Oreo Protein Balls
Do they taste like protein powder?
Nope. The Oreos and cream cheese dominate the flavor.
Can I make them dairy-free?
Yes, with dairy-free cream cheese and plant-based protein. Texture may vary slightly.
Are they kid-friendly?
Absolutely. Just be mindful of protein powder ingredients.
Can I reduce sugar?
Use fewer Oreos or a low-sugar cookie alternative.
Do I need to coat them?
Not at all. Coatings are optional flair, not required.
Final Thoughts
Cream Cheese Oreo Protein Balls are proof that smart snacking doesn’t have to feel restrictive. They’re indulgent without being reckless, simple without being boring, and flexible enough to fit almost any routine.
They belong in your fridge, your gym bag, and your regular rotation of Healthy No Bake Snacks. Whether you’re focused on macros, managing cravings, or just want something sweet that won’t leave you hungry 20 minutes later, these deliver.
So go ahead—crush the Oreos, grab the protein powder, and make a batch. Your future self (and your snack drawer) will thank you. Print

Cream Cheese Oreo Protein Balls That Make No-Bake Snacking Easy
- Total Time: 15 minutes
- Yield: 20 balls 1x
Description
These bite-sized snacks are rich, creamy, and loaded with cookies-and-cream flavor—basically cheesecake vibes with a protein upgrade. No oven, no stress, just quick mixing and chilling.
Ingredients
- 8 ounces cream cheese, brought to room temperature
- 15–20 Oreo cookies, crushed into crumbs
- 1 cup protein powder (vanilla or chocolate both work)
- 2–3 tablespoons milk of choice
- 1 teaspoon vanilla extract
- Small pinch of salt
- Optional add-ins: mini chocolate chips, chopped nuts, or shredded coconut
Instructions
- Break the Oreos down into fine crumbs using a food processor or a zip-top bag and rolling pin.
- In a bowl, blend the softened cream cheese with the cookie crumbs until fully combined and smooth.
- Stir in the protein powder a little at a time so it mixes evenly.
- Add milk slowly until the mixture comes together into a soft, moldable dough.
- Mix in the vanilla, salt, and any extras you’re using.
- Scoop and roll the mixture into small balls. Place them on a lined tray.
- Refrigerate for at least 60 minutes to firm up.
- Optional: Roll the chilled balls in extra Oreo crumbs or coconut for a finished look.
Notes
- Swap in dairy-free cream cheese, plant-based protein, and non-dairy milk for a vegan-friendly version.
- Keep the protein balls stored in the fridge for up to 5 days, or freeze them for up to 2 months.
- They’re best enjoyed chilled, when the texture is dense, chewy, and slightly fudgy.
- Prep Time: 15 minutes
- Cook Time: 0 minutes
- Category: Desserts
Nutrition
- Serving Size: 1 ball
- Calories: 100 kcal
- Sugar: 6 g
- Sodium: 60 mg
- Fat: 4 g
- Saturated Fat: 2 g
- Unsaturated Fat: 2 g
- Trans Fat: 0 g
- Carbohydrates: 10 g
- Fiber: 1 g
- Protein: 10 g
- Cholesterol: 10 mg


