
When the sun is blazing and turning on the oven feels like a personal attack, Fun Summer Dessert Ideas like this No Bake Peanut Butter Icebox Cake come to the rescue. Seriously—who wants to sweat over a hot stove when dessert can chill in the fridge and still taste like a total show-off? This is the kind of recipe that feels lazy in the best possible way and still earns compliments like you worked all day. Sound good? Yeah, I thought so.
This dessert is creamy, peanut buttery, cool, and wildly satisfying. It’s the kind of thing you make once and suddenly everyone requests it for every summer gathering. Coincidence? Absolutely not.
Why You’ll Love This No Bake Peanut Butter Icebox Cake
Let’s be honest for a sec—summer desserts need to check some very specific boxes. This one nails them all.
No oven required.
Zero baking. Zero heat. Zero regrets.
Peanut butter overload (in a good way).
From cookies to pudding, this is peak Easy Desserts Peanut Butter energy.
It magically turns cookies into cake.
Icebox cakes are kitchen sorcery. The fridge does all the work.
Perfect for hot days and lazy vibes.
Hello, Cold Easy Desserts season.
Make-ahead friendly.
Because no one wants last-minute stress during summer parties.
IMO, this easily qualifies as one of The Best Easy Desserts you can make when time, patience, and AC are limited.
The Story Behind This Icebox Cake (AKA Why It Exists)
Icebox cakes were basically invented for summer survival. Back when refrigerators were called “iceboxes” (yep, really), people figured out that layering cookies with cream and letting time do its thing was genius-level thinking.
Fast-forward to now, and this peanut butter version feels like the glow-up nobody asked for but everyone needed. It’s nostalgic, low-effort, and insanely comforting. Plus, it’s one of those Desserts With No Chocolate that still feels rich and indulgent—no cocoa required.
Ever take one bite and think, “Why don’t I make this more often?” Yeah. That.
What Exactly Is an Icebox Cake?
Quick refresher in case you’re new here.
An icebox cake has three core elements:
Cookie layers
These soften in the fridge and become cake-like. Wild, right?
Creamy filling
Usually pudding, whipped topping, or both.
A fun topping
Candy, crushed cookies, nuts—dealer’s choice.
After chilling, the whole thing slices like cake, eats like cake, but requires zero baking skills. That’s why it’s such a staple in Summer Fun Desserts and Easy Vacation Desserts.
Ingredients Breakdown (And Why Each One Matters)
Let’s break this down so you know exactly what’s pulling the weight here.
Peanut Butter Sandwich Cookies
These form the “cake” layers. Once chilled, they soften into dreamy, cake-like perfection. You can swap cookies, but peanut butter ones make this dessert iconic.
Milk
Used to lightly dip the cookies before layering. This step matters. It jumpstarts the softening process so your cake doesn’t stay crunchy.
Instant Pudding Mix
Vanilla or cheesecake flavor works best. It gives structure, creaminess, and that classic lush dessert texture.
Peanut Butter
Creamy is smooth and classic. Crunchy adds texture. Choose your fighter.
Whipped Topping
Cool Whip keeps things fast and stable. Fresh whipped cream works too—but add it right before serving.
Candy or Toppings
Reese’s Pieces, chopped peanut butter cups, crushed cookies, or peanuts. This is where personality shows up.
How to Make This No Bake Peanut Butter Icebox Cake
Step 1: Prep the Cookie Layer
Quickly dip each cookie into milk—don’t soak them. Lay them flat in the bottom of your dish.
Pro tip: A quick dunk is enough. Oversoaking leads to mush city.
Step 2: Make the Peanut Butter Pudding
Whisk the pudding mix with cold milk until thick. Add peanut butter and whisk again until smooth.
Step 3: Fold in the Whipped Topping
Gently fold until light and fluffy. Don’t overmix—keep it airy.
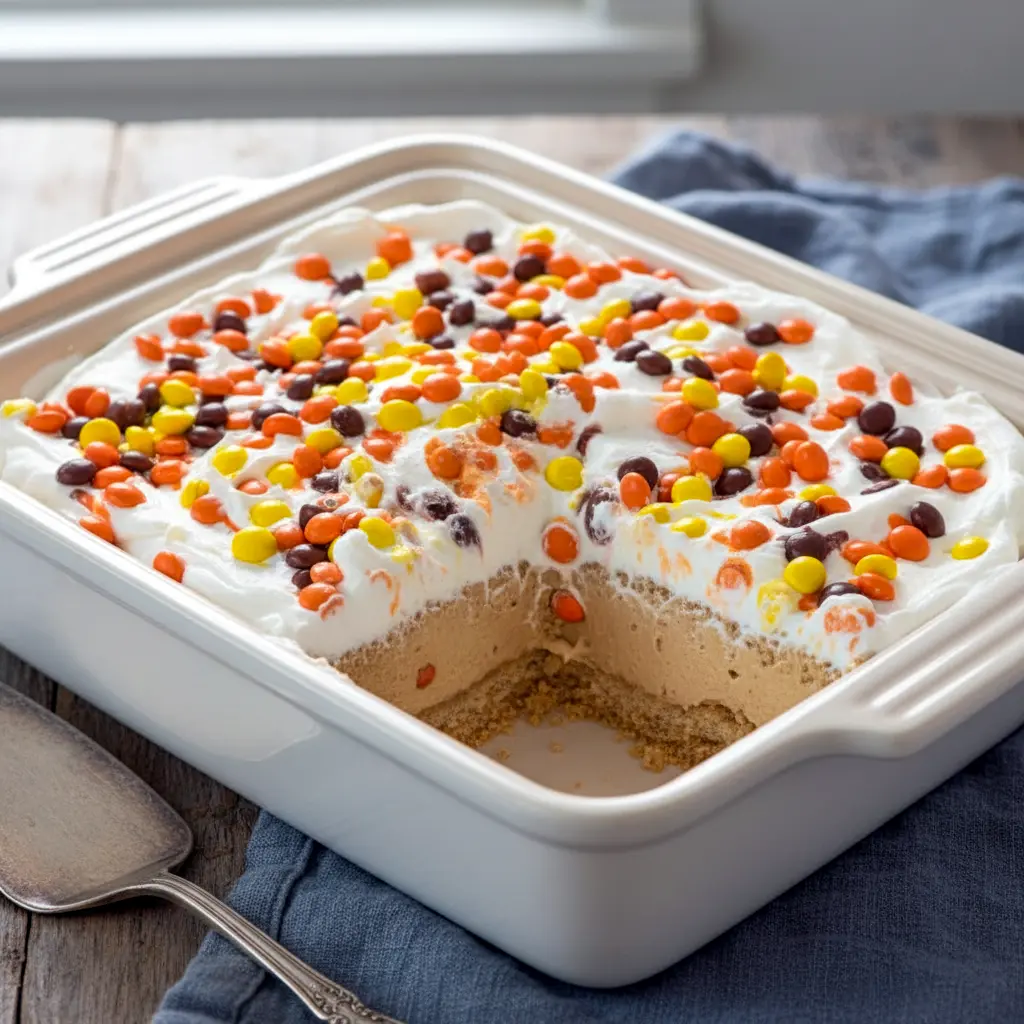
Step 4: Layer Like a Pro
Cookies → pudding → cookies → pudding. Repeat until everything’s used.
Step 5: Chill
Top with whipped topping and refrigerate at least 2 hours. Overnight is even better.
Step 6: Decorate and Serve
Add candy or toppings right before serving for max crunch and visual drama.
Pro Tips for Perfect Results
Use cow’s milk.
Plant-based milk won’t set pudding properly. FYI, this matters.
Chill longer if possible.
More fridge time = softer cookies = better texture.
Keep layers even.
This helps slices look clean instead of chaotic.
Add toppings last-minute.
Nobody wants soggy candy.
Variations to Try (Because Options Are Fun)
Cookie Swaps
Oreos, graham crackers, or vanilla wafers all work. This flexibility makes it one of those Outside Dessert Ideas that adapts to whatever’s in your pantry.
Nut-Free Version
Use vanilla cookies and skip the peanut butter. Still dreamy.
Extra Creamy
Add a layer of plain whipped topping between pudding layers for contrast.
Frozen Icebox Cake
Using Cool Whip? Freeze it. Slice like ice cream cake on extra-hot days.
Best Ways to Serve It
This dessert shines at:
- Backyard BBQs
- Pool parties
- Potlucks
- Family reunions
- Basically any Easy Cookout Recipes lineup
Serve it straight from the fridge, cut into squares, and watch it disappear. Want bonus points? Pair it with iced coffee or cold brew.
Storage and Leftovers (If You Have Any)
Refrigerator:
Cover loosely and store up to 4 days.
Freezer:
Freeze up to 1 month if made with Cool Whip.
Make Ahead:
This is one of those Easy Vacation Desserts you can prep before the chaos starts.
FAQs
Can I make this the night before?
Yes—and you should. It gets better with time.
Can I use homemade whipped cream?
Absolutely. Just add it right before serving.
Is this good for kids?
It’s sweet, creamy, and familiar. Translation: they’ll love it.
Is it too rich?
It’s indulgent, but the chilled texture keeps it balanced.
Final Thoughts: Why This Dessert Belongs in Your Summer Rotation
If you’re building a go-to list of Fun Summer Dessert Ideas, this No Bake Peanut Butter Icebox Cake deserves a permanent spot. It’s easy, nostalgic, crowd-pleasing, and requires almost zero effort—yet somehow tastes like you tried really hard.
It’s proof that summer desserts don’t need heat, stress, or complicated steps to feel special. Just layers, chill time, and a little peanut butter magic.
So next time the weather’s hot and dessert is non-negotiable, you know what to do. 😉 Print

Fun Summer Dessert Ideas Start With This No Bake Peanut Butter Icebox Cake
- Total Time: 20 minutes
- Yield: 12 servings 1x
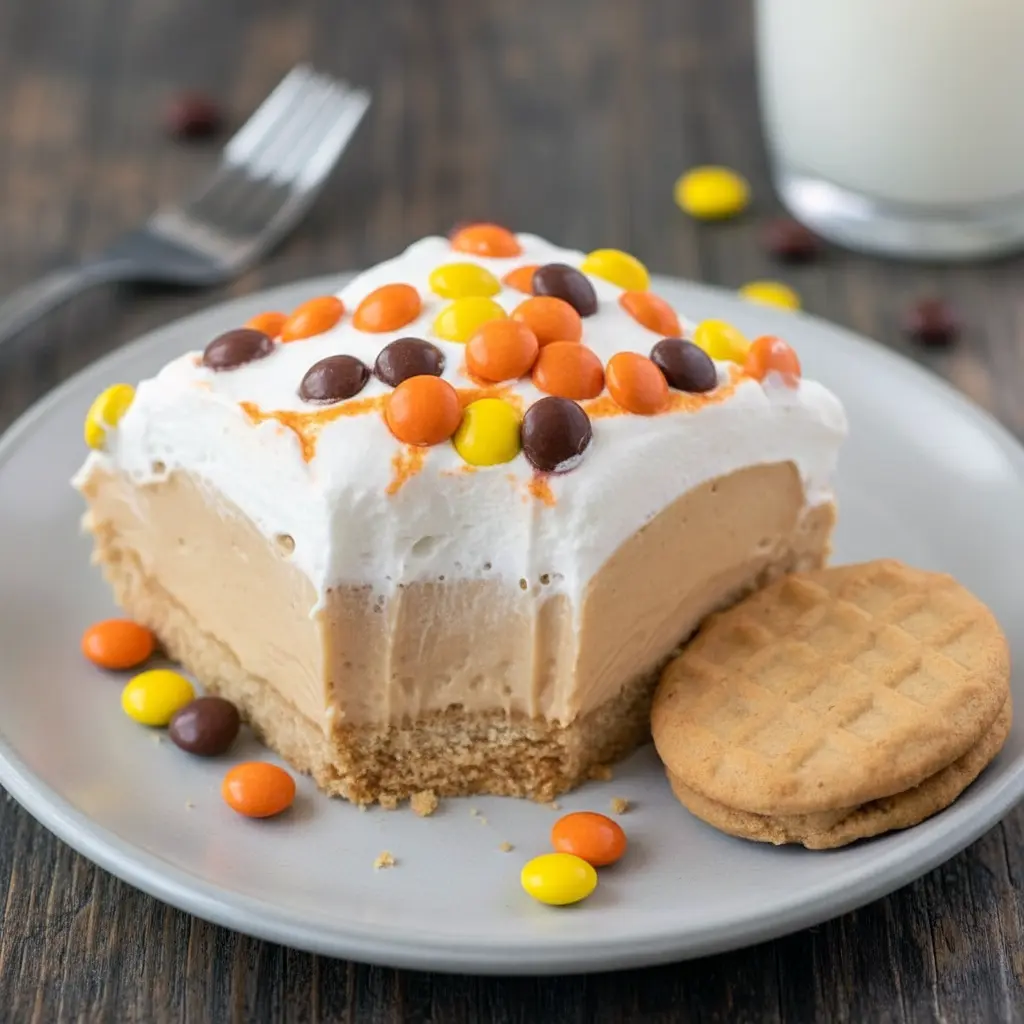
Description
This no bake peanut butter icebox cake is pure summer comfort—cool, creamy, and stacked with layers of peanut butter goodness. Softened sandwich cookies, fluffy peanut butter pudding, and a candy-studded topping come together with zero oven time. It’s rich, nostalgic, and ridiculously easy to throw together.
Ingredients
- 27–36 peanut butter sandwich cookies (Nutter Butter–style or similar)
- 1¾ cups milk, divided
- 1 box (3.4 oz) instant vanilla or cheesecake pudding mix
- ½ cup creamy peanut butter
- 8 oz whipped topping, thawed
- 1 cup Reese’s Pieces or other peanut butter candy, for garnish
Instructions
- Pour about ½ cup of the milk into a shallow bowl. Quickly dip roughly one-third of the cookies into the milk—just a fast dunk, not a soak. Arrange them in a single layer in the bottom of an 8×8-inch dish.
- In a large mixing bowl, whisk the remaining 1¼ cups milk with the pudding mix until thickened. Once set, stir in the peanut butter until smooth, then gently fold in half of the whipped topping.
- Spread half of the peanut butter pudding mixture evenly over the cookie layer.
- Dip another third of the cookies into milk and layer them over the pudding. Spread the remaining pudding mixture on top.
- Finish with the last of the milk-dipped cookies, then spread the remaining whipped topping evenly over the top.
- Sprinkle with Reese’s Pieces (or your favorite topping), cover, and refrigerate for at least 2 hours before slicing and serving.
Notes
- Cookie swaps: Graham crackers, Oreos, or vanilla wafers all work great. Graham crackers don’t need a milk dip.
- Milk matters: Use dairy milk so the pudding sets properly—any fat percentage works.
- Make-ahead friendly: This dessert actually improves with time, so prepping it a day early is a win.
- Storage: Keep loosely covered in the refrigerator for up to 4 days.
- Whipped cream option: Homemade whipped cream works too—just add it right before serving.
- Toppings: Crushed cookies, chopped peanut butter cups, nuts, or even a drizzle of peanut butter are all fair game.
- Freezing: If made with whipped topping, this cake can be frozen and served semi-frozen for an ice-cream-cake vibe.
- Prep Time: 20 minutes
- Category: Desserts
Nutrition
- Serving Size: 1 serving
- Calories: 336 kcal
- Sugar: 26 g
- Sodium: 203 mg
- Fat: 18 g
- Saturated Fat: 7 g
- Carbohydrates: 37 g
- Fiber: 2 g
- Protein: 8 g
- Cholesterol: 4 mg


