
Christmas Cheesecake Bites bring all the holiday magic straight into your kitchen the moment you start whipping them up. There’s just something irresistible about tiny creamy treats dipped in vibrant, glossy chocolate that instantly brighten any dessert table, right? And honestly, when the season gets chaotic (which it always does), I’m voting for recipes that feel festive but don’t take five hours and a prayer to pull off. These little No-Bake Christmas Cheesecake Bites fit that vibe perfectly. They’re fun, colorful, decadent, and ridiculously easy—basically everything you dream of during December when you want to show up with something impressive but still have a mile-long to-do list.
Introduction to the Recipe
As soon as the holiday season rolls in, my kitchen shifts gears. Suddenly the counters fill with sprinkles, melting chocolates, and more cream cheese than anyone should reasonably stock. But that’s the charm of holiday baking (or, in this case, no-baking). These Christmas Cheesecake Bites always seem to kick off the celebrations for me. They hit that cozy-holiday-dessert sweet spot and bring a cheerful burst of color that makes everything feel a little more fun.
And FYI—you’re totally allowed to make these even if you’re not hosting anything. I’ve happily snacked on them while watching predictable-but-festive movie marathons. Zero regrets.
What Makes These No-Bake Christmas Cheesecake Bites So Irresistible
These little gems have a lot going for them. For starters, you don’t need an oven. Yup—none. Zero. Not even a preheat. The whole thing is basically the dessert equivalent of choosing easy mode.
Once you mix the base, it transforms into the creamiest, fluffiest little truffle-style balls that hold their shape beautifully after a quick chill. Then comes the fun part: dipping them in festive chocolate so they look like they came straight from Santa’s workshop.
Plus, they tap into that same holiday satisfaction you get from making adorable mini treats like Cheesecake Brownies, Energy Bites, or even fun Muffin Tin Recipes—you know, those recipes that feel weirdly therapeutic as you shape, dip, decorate, repeat.
The flavor? Think classic Christmas Cheesecake vibes but in perfect bite-sized form. And because it’s a Cheesecake Bites Recipe that’s super flexible, you can adjust sweetness, toppings, and coatings to match your holiday mood.
Ingredients List (With Short + Punchy Descriptions)
Before you get started, gather everything in one spot. It makes you feel like you have your life together—at least temporarily.
Cream Cheese
The heart and soul of your bites. Softened cream cheese blends silky smooth and creates that dreamy cheesecake texture we all obsess over.
Powdered Sugar
Sweetens the mixture without any graininess. It dissolves like magic and keeps everything smooth and velvety.
Vanilla Extract
Adds warmth, coziness, and depth. It’s basically the comfort-flavor MVP.
White Chocolate Chips
They melt beautifully and create a rich, sweet coating that pairs perfectly with the tang of the cheesecake base.
Crushed Graham Crackers or Cookie Crumbs
Bring structure and a subtle crunch. Use classic graham crackers or switch things up with chocolate cookies for wintery flair.
Whipped Topping (Cool Whip)
Keeps the texture cloud-like and light. This is what makes the bites taste like they came from a dreamy No Bake Cheesecake recipe.
Red & Green Candy Melts
Turn your bites from tasty to festive. They coat easily and add a vibrant holiday pop.
Holiday Sprinkles
Because it’s December and sprinkles are basically essential. They add instant cheer.
How to Make the Recipe (Simple & Straightforward)
1. Make the Cheesecake Base
Start with softened cream cheese—never underestimate the power of room temp ingredients. Beat until smooth, then add powdered sugar and vanilla. Mix until everything blends into a creamy, sweet base.
2. Melt Your White Chocolate
Use short microwave bursts and stir between each. Once smooth, let it cool for a minute so it doesn’t seize your mixture, then fold it into the cream cheese base.
3. Add Crumbs + Whipped Topping
Stir in your crumbs for structure, then gently fold in the whipped topping until everything looks pillowy and irresistible.
4. Chill and Shape
Pop the bowl into the fridge for 30–40 minutes. When it firms up, scoop and roll into cute 1-inch balls. Place them on parchment and admire your army of deliciousness.
5. Dip and Decorate
Melt your red and green candy melts, dip each bite, let excess drip off, and place back on the tray. Add sprinkles while the coating is still soft. Now step back and admire your adorable edible ornaments.
The Story Behind These Holiday Bites
I started making these years ago after attending a small-town Chocolate Festival where every vendor tried to outdo each other with over-the-top treats. One booth had little cheesecake truffles dipped in colored white chocolate—and I fell in love instantly. Of course, the vendor wouldn’t share the recipe (tragic), so I reverse-engineered my own version as soon as I got home.
Over time, they evolved into my official December treat—the one I bring to gatherings, the one friends request every year, the one I make “just because” when holiday stress peaks. They’re easy, they’re cute, they’re delicious, and they make people smile. IMO, that’s the dessert trifecta.
Pro Tips for the Best Outcome
Here’s the good stuff—the tips that take your bites from “yum” to “OMG who made these?”
Use softened cream cheese
Cold cream cheese leads to lumps, and no one wants chunky cheesecake.
Cool your melted chocolate before adding
Hot chocolate + cream cheese mixture = instant sadness. Let it cool for a few minutes.
Chill long enough before shaping
Don’t rush this part. The right chill makes shaping clean and easy.
Use a small cookie scoop
Evenly-sized bites look prettier and chill more evenly.
Don’t overheat candy melts
Candy melts hate overheating. Do 20–30 second bursts, stir often, and stay patient.
Add sprinkles right away
Candy coating sets quickly, so sprinkle fast unless you want runaway decorations.
Variations to Try
You can absolutely play with flavor here. These are so customizable it’s almost dangerous.
Switch the flavoring
Try peppermint, almond, caramel, or even maple extract for seasonal twists.
Use different crumbs
Gingerbread cookie crumbs? Yes. Chocolate sandwich cookies? Also yes.
Swap candy melt colors
Gold and white for New Year’s, pink for Valentine’s, or pastel for Easter.
Add mix-ins
Finely chopped nuts, mini chocolate chips, crushed peppermints—go for it.
Turn them into “mini bars”
Press the mixture into a pan, freeze, slice, and then dip or drizzle like cool layered treats. It’s like a playful cousin of Cheesecake Brownies, but sleeker.
Best Way to Serve These Holiday Bites
Your serving options are endless, but here are a few crowd-pleasing ways to show them off:
Create a holiday dessert board
Add cookies, chocolates, fruit, and these Christmas Goodies for the cutest edible display.
Serve with hot cocoa
The bites pair perfectly with classic holiday drinks. The creaminess balances all that cocoa sweetness.
Set them out at parties
Place them on a white platter to show off the festive colors—they’ll disappear fast.
Package as edible gifts
Cute tins, mini bakery boxes, or festive bags turn them into sweet homemade presents.
Quick Tips for Storage + Leftovers
These store beautifully, which is a huge holiday win.
Refrigerator:
Keep them in an airtight container for up to a week. They taste best chilled anyway.
Freezer:
Freeze on a tray, then transfer to a sealed bag. They keep 1–2 months. Thaw slightly before serving.
Avoid room temp storage:
The cream cheese base needs to stay cool, so skip countertop storing.

FAQs for No-Bake Christmas Cheesecake Bites
Can I make them ahead of time?
Absolutely—these are perfect make-ahead treats. They hold shape and flavor wonderfully.
Can I use low-fat cream cheese?
Yes, but full-fat creates the best texture.
Can I use almond bark instead of candy melts?
Totally! Just separate and color if you want that festive red/green look.
Do these travel well?
They do, as long as you keep them cool. Use insulated bags for longer drives.
Can I make them gluten-free?
Yes, just use gluten-free cookies or grahams for the crumbs.
Do kids enjoy making these?
Definitely. Kids love the rolling and dipping parts—plus, sprinkles are always a hit.
Final Thoughts
These Christmas Cheesecake Bites wrap everything we love about the holidays into a single adorable bite. They’re simple, quick, colorful, and outrageously creamy. They make your dessert table glow, your guests smile, and your holiday season feel a whole lot sweeter.
Whether you’re bringing them to a party, gifting them, or just sneaking a few while watching twinkly lights flicker across your living room, they deliver all the cozy cheer you expect from December desserts. And the fact that they fall right into the No Bake Cheesecake category? Total bonus.
Let these little bites become part of your yearly traditions. Once you make them, they’ll earn a permanent place in your holiday lineup—trust me. Print

Ultimate No-Bake Christmas Cheesecake Bites — A Joyful Christmas Cheesecake Treat
- Total Time: 1 hour
Description
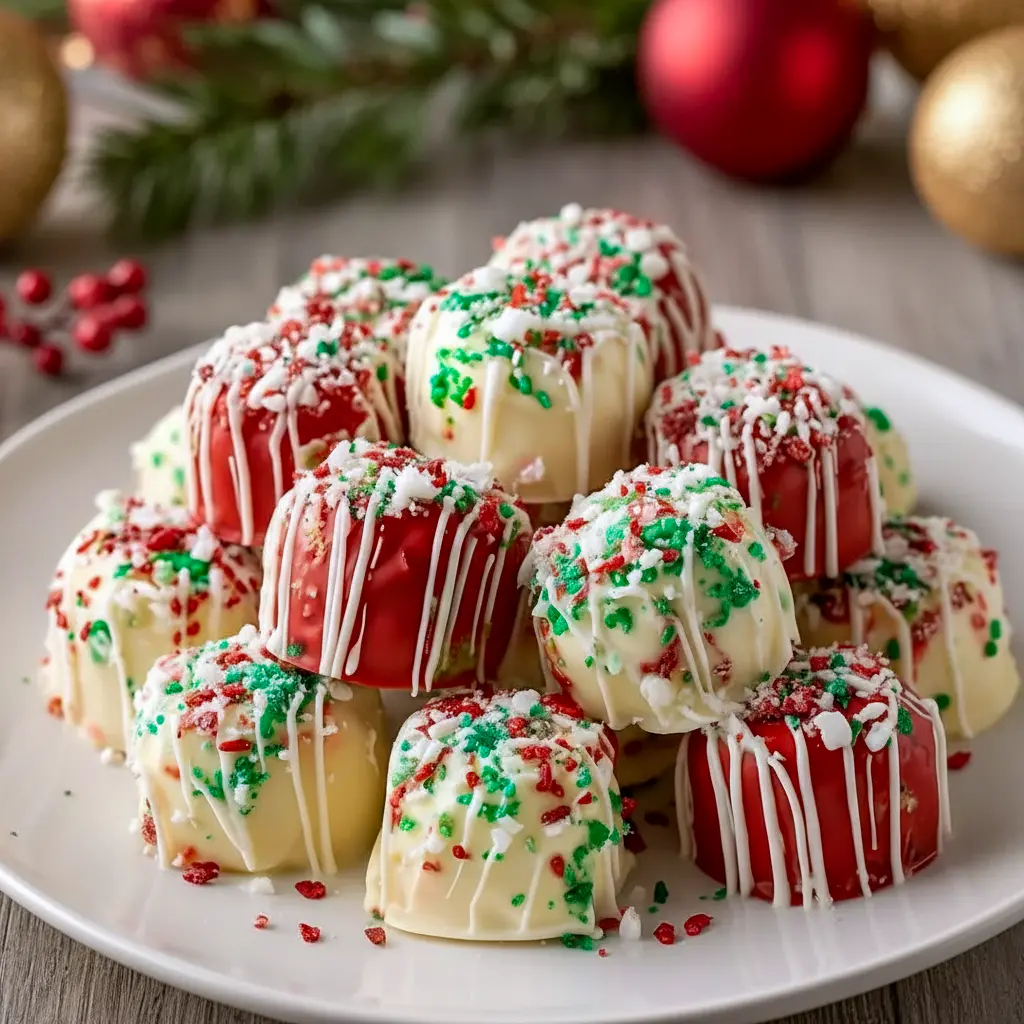
These festive, creamy cheesecake bites come together without ever turning on the oven. Each little ball gets dipped in holiday colors and finished with cheerful sprinkles, making them perfect for parties, gifting, or snacking straight from the fridge.
Ingredients
- 8 oz cream cheese, softened to room temperature
- ½ cup powdered sugar
- 1 tsp vanilla extract
- 1 cup white chocolate chips, melted
- 1 cup crushed graham crackers or cookie crumbs
- ½ cup thawed whipped topping (Cool Whip)
- Red and green candy melts or colored melting chocolate
- Holiday sprinkles
Instructions
- Mix the Cheesecake Base
- Place the softened cream cheese in a mixing bowl and beat it until it turns smooth and fluffy. Add the powdered sugar and vanilla, blending until everything comes together into a silky mixture.
- Melt the White Chocolate
- Warm the white chocolate chips in the microwave using short bursts—about 20 seconds at a time—stirring between each round until the chocolate becomes glossy and lump-free. Give it a moment to cool before incorporating it into the cream cheese mixture.
- Add Crunch + Creaminess
- Pour in the crushed graham crackers and stir to distribute them evenly. Gently fold in the whipped topping last, keeping the mixture light and airy.
- Chill and Roll
- Cover the bowl and refrigerate for around 30–40 minutes, just long enough for the mixture to firm up. Once it’s chilled, scoop out small portions and roll them into 1-inch balls. Set each one on a parchment-lined baking sheet.
- Coat in Festive Colors
- Melt the red and green candy melts in separate bowls following the directions on the package. Dip each chilled cheesecake ball into the colored chocolate, let the extra drip off, and set back on the baking sheet. Add sprinkles while the coating is still soft.
Notes
- Starting with softened cream cheese ensures a smooth, lump-free texture.
- Let the melted chocolate cool slightly so it doesn’t cause the mixture to seize.
- Switch up the crumbs—gingerbread cookies, chocolate wafers, or shortbread all add unique flavor.
- Don’t skip the chilling time; it makes rolling the bites so much easier.
- Prep Time: 1 hour
- Category: Desserts


