
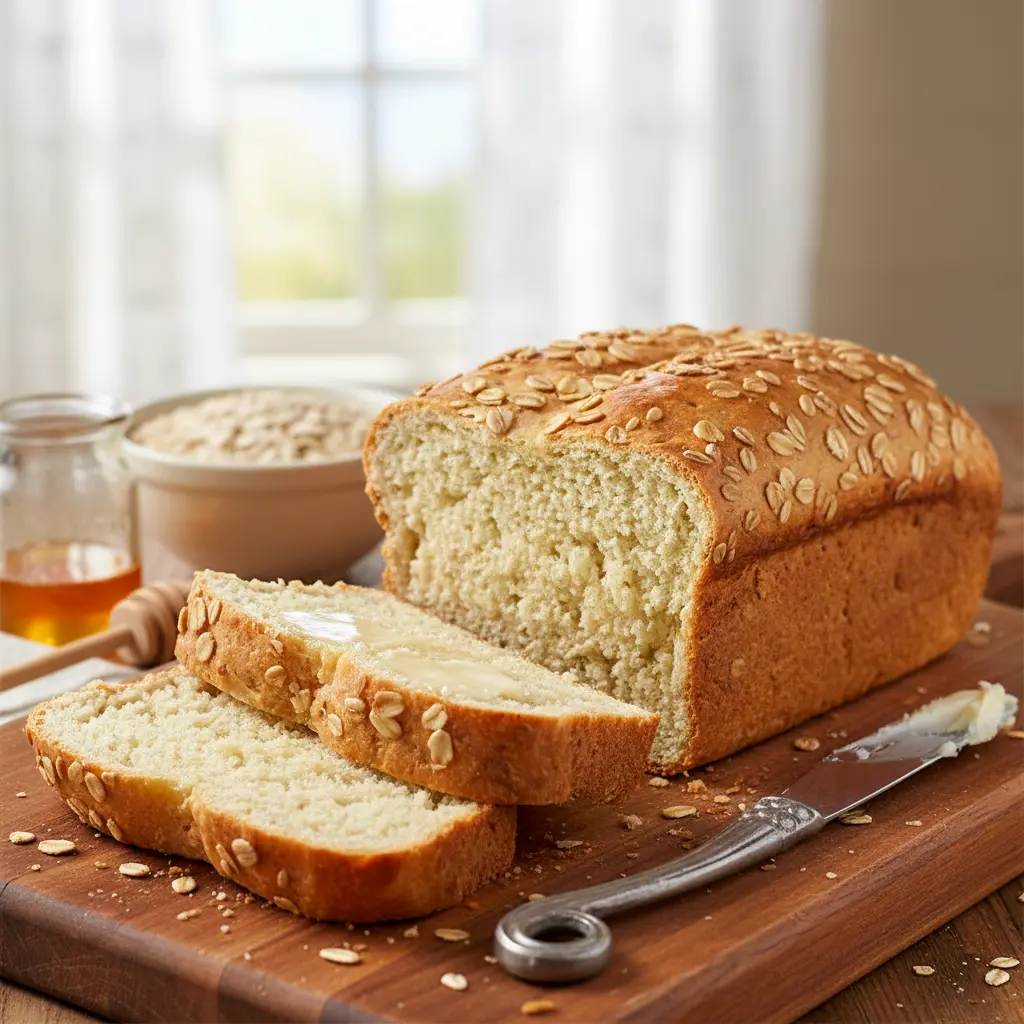
If you’ve ever dreamed of pulling a warm, golden loaf of homemade bread from your oven and watching the butter melt into it like magic — today’s your lucky day. This Honey And Oat Bread is the kind of recipe that turns even “I-don’t-bake” folks into confident bread lovers. It’s a simple, no-fuss, no-knead honey oat bread that tastes like comfort, smells like home, and requires zero fancy baking skills.
The best part? You don’t need to be a professional baker, or even patient. This Oat Bread Recipe is all about ease, flavor, and a little bit of rustic charm. Whether you want a hearty slice for breakfast, a soft base for your sandwich, or something cozy to serve with soup, this Honey Oat Bread delivers — every single time.
The Magic of Oats and Honey
Let’s talk about why this bread works so beautifully. The Oats And Honey Bread combo is classic for a reason — it’s wholesome, flavorful, and naturally sweet. The oats give it texture and tenderness, while the honey adds a mellow sweetness that doesn’t overpower.
No refined sugar, no kneading, no problem. This loaf is soft and buttery, yet strong enough to slice for sandwiches or toast. The subtle sweetness means it plays nicely with both sweet spreads (think jam or peanut butter) and savory toppings (hello, avocado toast).
And if you’re wondering what sets it apart from store-bought loaves — oh, you’ll know at first bite. The aroma of honey and warm oats filling your kitchen? Pure heaven.
What Makes This Honey And Oat Bread Irresistible
This recipe hits that sweet spot (pun intended) between healthy and indulgent. It’s just the right amount of soft, dense, and chewy — a perfect texture that begs for butter.
Here’s why it’s a keeper:
- It’s ridiculously simple. No kneading means no stress, no sore arms, and no mixer required.
- Quick rising time. You’ll wait just about 35 minutes before baking — enough time to make a cup of coffee and catch up on your favorite show.
- The flavor is unbeatable. The honey gives it warmth and depth, while the oats make it hearty without being heavy.
- Versatility at its best. This Honey Oat Sandwich Bread works for breakfast toast, lunch sandwiches, and even a cozy snack with butter and jam.
Honestly, this bread is the perfect mix of everyday simplicity and weekend luxury.
The Ingredients You’ll Need
You’ll love how basic the ingredient list is — no surprises, just pantry staples that come together in the best way possible.
- Rolled Oats: The star ingredient for that soft, hearty texture. Avoid instant oats; they don’t give the same chew or structure.
- Butter: Adds richness and flavor, creating that melt-in-your-mouth tenderness.
- Honey: The natural sweetness that ties it all together. Use your favorite type — wildflower, clover, or raw — each adds its own subtle flavor.
- Salt: A pinch is all it takes to enhance every flavor.
- Yeast: This little powerhouse makes the bread rise beautifully.
- Egg: Adds structure and a touch of richness to the crumb.
- Flour: The base that binds it all together. All-purpose flour works perfectly here, but you can sub in part whole wheat for a heartier No Knead Honey Whole Wheat Bread.
That’s it — no mystery ingredients, no complicated ratios, just simple baking bliss.
How To Make Honey And Oat Bread
If you’ve been intimidated by yeast breads before, this one will change your mind. It’s truly foolproof and beginner-friendly.
Step 1: Prep the Oat Mixture
Start by heating 1 cup of water to a gentle boil. Stir in the oats, butter, honey, and salt, and let it sit until the mixture cools to lukewarm — about 110°F to 115°F. Stir occasionally as it cools.
Step 2: Activate the Yeast
In a separate bowl, dissolve your yeast in another ¼ cup of warm water (same temperature range). You’ll see it start to bubble and foam slightly — that’s how you know it’s alive and ready to work.
Step 3: Mix the Dough
Combine the oat mixture with the yeast water, the egg, and 2 cups of flour. Stir until smooth. Gradually add more flour, about ½ cup at a time, until the dough thickens and forms a soft, sticky ball.
Step 4: Let It Rise
Spread the dough evenly into two greased loaf pans (9×5 inches each). Smooth the tops and cover with a clean kitchen towel. Let them rise in a warm spot until doubled in size — usually 35–40 minutes.
Step 5: Bake It Up
Bake at 375°F for 40–45 minutes until the tops are golden brown and your kitchen smells like heaven. If you’re feeling fancy, brush the tops with melted butter right after baking for that glossy bakery-style finish.
Step 6: Cool and Enjoy
Let the loaves cool on a wire rack. Slice into one while it’s still warm if you can’t resist — because honestly, who can?
The Story Behind the Bread
I’ll be honest — I used to avoid making bread altogether. Too much kneading, too much waiting, too much “what if the yeast doesn’t rise?” anxiety.
Then came this No-knead Honey Oat Bread, and it changed everything. It was one of those kitchen moments that made me go, “Wait, that’s it? That’s all I had to do?”
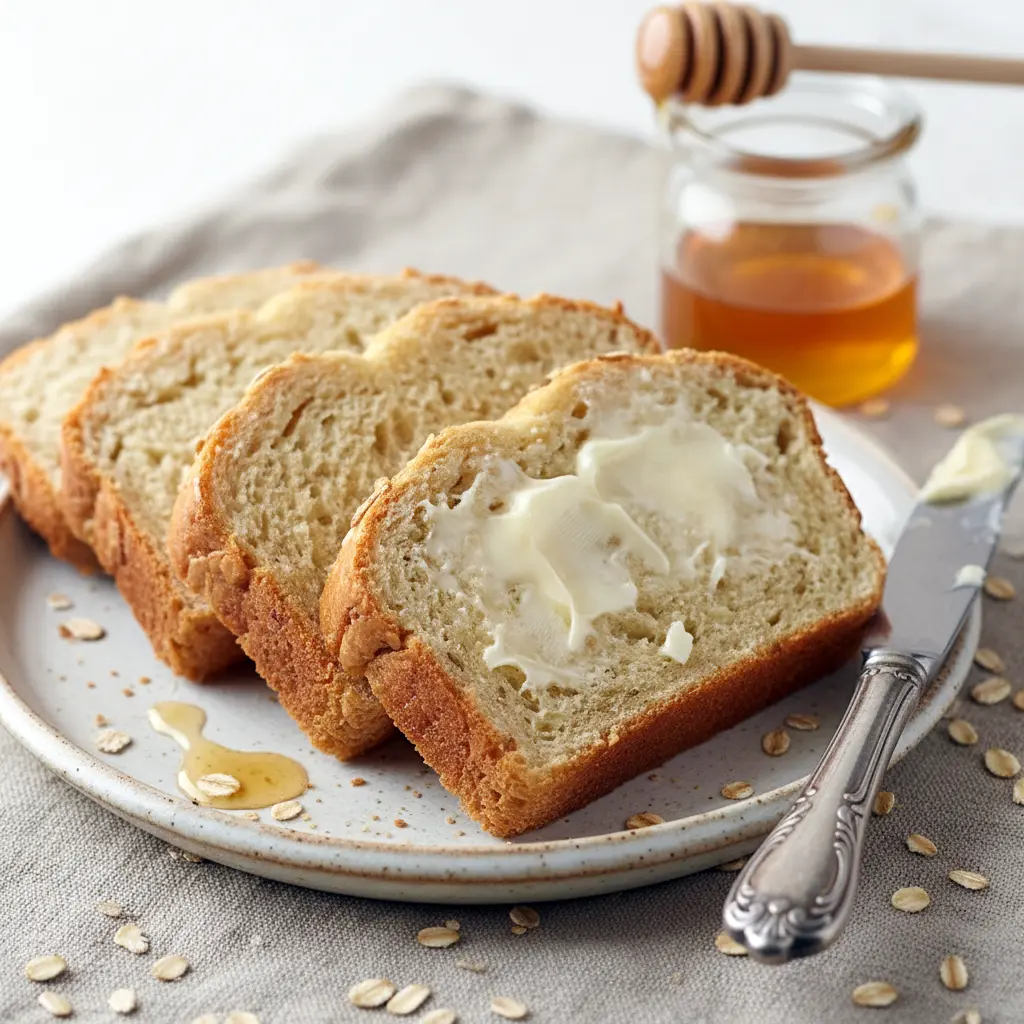
The first time I made it, I took one bite of that warm, slightly sweet slice and immediately spread on a thick pat of butter. It melted instantly. I knew right then this recipe was a keeper — one that deserved a permanent spot in my kitchen rotation.
Pro Tips for the Best Honey Oat Bread
Want your loaf to turn out bakery-perfect? Keep these tips in mind:
- Use warm, not hot, water. Anything above 120°F can kill the yeast, and that’s a one-way ticket to dense bread.
- Don’t rush the rise. It’s tempting, but give your dough enough time to puff up properly. The result will be lighter and fluffier.
- Add flour gradually. The dough should be soft and slightly sticky — not dry or stiff.
- Try different honeys. Each type adds a subtle change in flavor — from floral and light to deep and rich.
- Brush with butter. Not just for flavor — it keeps the crust tender and gives that irresistible shine.
Variations to Try
Once you’ve nailed the base recipe, you can easily play around with flavors:
- Cinnamon Honey Oat Bread: Add 1 teaspoon of cinnamon for a warm, spiced loaf that’s amazing with apple butter.
- Nutty Twist: Toss in a handful of chopped walnuts or pecans for crunch and flavor depth.
- Whole Wheat Version: Swap half the flour for whole wheat to make it a hearty No Knead Honey Whole Wheat Bread.
- Sweet Surprise: Mix in raisins, dried cranberries, or even mini chocolate chips for a breakfast-style loaf.
Best Ways to Serve Honey And Oat Bread
There’s no wrong way to enjoy this Honey And Oat Bread, but here are a few crowd-favorite ideas:
- Classic toast: Slather it with butter, jam, or nut butter for a simple breakfast.
- Gourmet sandwiches: Perfect for turkey, ham, or even PB&J.
- French toast: Oh yes, it’s divine when soaked in egg and cooked golden.
- Bread pudding: Leftovers (if you ever have any) make the most heavenly dessert.
Storage and Leftovers
Room Temperature: Store the cooled loaves in an airtight container or bread bag for up to 3 days.
Refrigerate: Extend freshness by keeping it in the fridge for up to a week.
Freeze: Slice it first, wrap each slice in parchment, then store in a freezer-safe bag for up to 3 months. Just pop slices in the toaster when you want a warm treat!
FAQs About Honey And Oat Bread
Can I use quick oats instead of rolled oats?
It’s best to stick with rolled oats. Quick oats tend to get mushy and change the texture of the bread.
What if I don’t have honey?
You can substitute maple syrup, agave, or molasses — though the flavor will change slightly.
Do I need to knead the dough at all?
Nope! That’s the beauty of this recipe — no kneading, no fuss.
Why is my bread dense?
Most likely, the dough didn’t rise long enough or the yeast was inactive. Always check that your yeast is fresh.
Can I make this bread in one big loaf instead of two small ones?
Absolutely! Just adjust the baking time — around 45–50 minutes should do the trick.
Final Thoughts
There’s something magical about homemade bread. It’s simple, humble, and satisfying in a way store-bought bread never quite matches. This Honey And Oat Bread embodies all of that — it’s sweet, tender, wholesome, and a little nostalgic.
It’s the kind of bread that makes your kitchen feel like a bakery and your home smell like warmth itself. So next time you want to bake something that’s easy, comforting, and guaranteed to impress, this Honey Oat Bread is your go-to.
Once you’ve tried this recipe, you’ll realize why people say baking is therapy — especially when it’s this deliciously effortless. Whether you’re new to baking or a seasoned bread lover, this Honey Oat Sandwich Bread will become one of your favorites in no time.
Go ahead, grab that honey jar, roll up your sleeves, and bake yourself a loaf of simple, golden comfort. Trust me — one slice, and you’ll never look at store-bought bread the same way again. Print

Honey And Oat Bread – Simple, Sweet, and Totally Foolproof Comfort Bake
- Total Time: 1 hour
- Yield: 2 loaves 1x
Description
Here’s a bread recipe that’s as cozy as a Sunday morning. This honey and oat loaf brings together the wholesome goodness of oats and the gentle sweetness of honey — no kneading, no stress, just pure homemade comfort. Perfect for breakfast toast, sandwiches, or a sneaky afternoon snack.
Ingredients
- 2 cups water, divided
- 1 cup rolled oats (not quick oats)
- ⅓ cup softened butter
- ⅓ cup honey
- 1 teaspoon salt
- 2 tablespoons active dry yeast
- 1 egg
- 4 to 5 cups all-purpose flour
- Melted butter (optional, for brushing)
Instructions
- Cook the oat base:
- Bring 1 cup of water to a boil in a small saucepan. Stir in the oats, butter, honey, and salt until combined. Take it off the heat and let it cool to about 110°F–115°F, stirring now and then. Warm the remaining 1 cup of water separately to the same temperature range.
- Activate the yeast:
- In a large mixing bowl, pour in the warm water and sprinkle over the yeast. Let it sit for a few minutes until it becomes foamy — that’s how you’ll know the yeast is alive and kicking.
- Mix the dough:
- Add the cooled oat mixture, egg, and 2 cups of flour to the bowl with the yeast. Stir well until smooth. Gradually add more flour, about half a cup at a time, until a thick, soft dough forms and pulls slightly from the sides of the bowl.
- Shape and rise:
- Divide the dough evenly between two greased 9×5-inch loaf pans. Smooth the tops with a spatula. Cover lightly with a clean towel and let the dough rise in a warm spot until doubled in size — roughly 35–40 minutes.
- Bake to golden perfection:
- Preheat your oven to 375°F (190°C). Bake the loaves for 40–45 minutes, or until the tops are golden brown and sound hollow when tapped.
- Finishing touches:
- If you’d like extra flavor and a beautiful shine, brush the hot loaves with melted butter right after baking. Cool on wire racks before slicing (if you can wait that long).
Notes
- Rising time may vary slightly depending on your kitchen’s temperature.
- For an even prettier loaf, sprinkle a few oats on top before baking.
- Prep time doesn’t include rising.
- Prep Time: 20 minutes
- Cook Time: 40 minutes
- Category: Breakfast


