
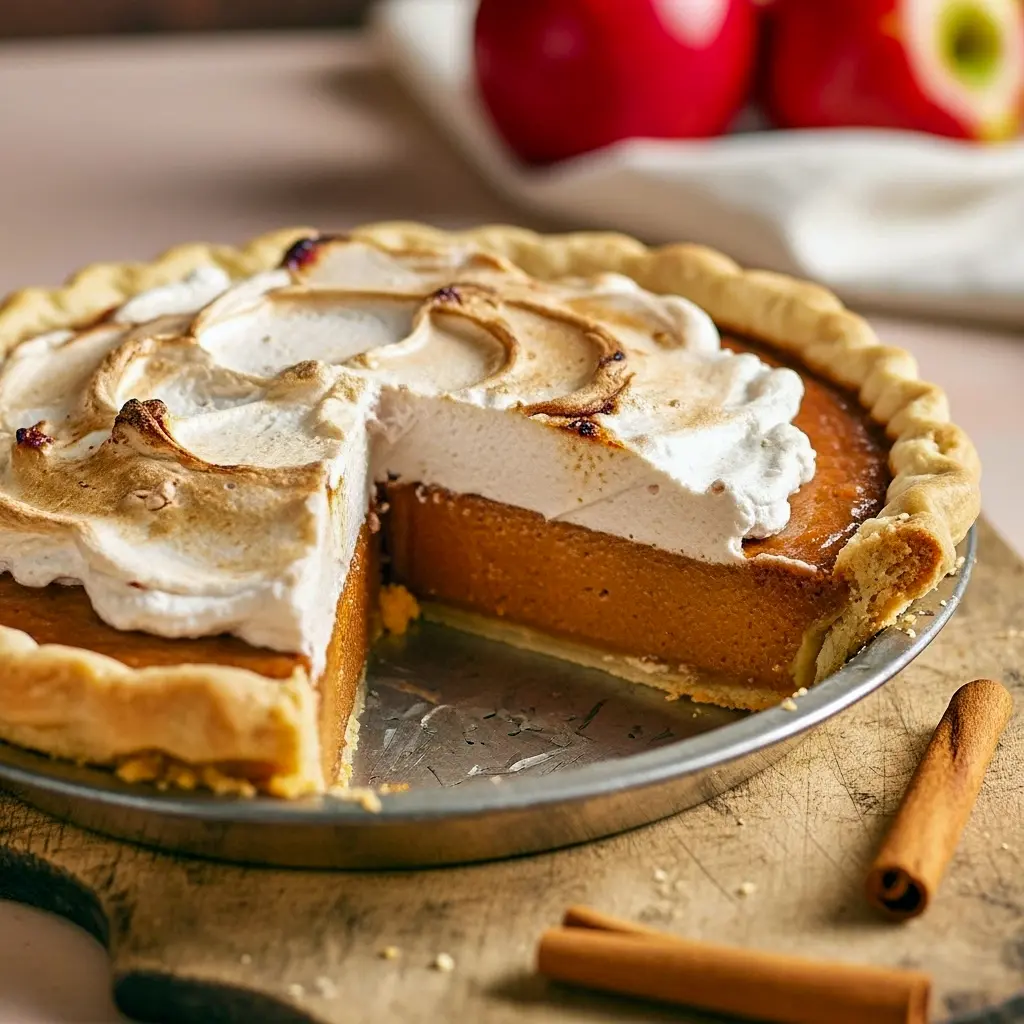
Apple Butter Apple Pie launches this article right out of the gate — because why beat around the bush? If you love the silky texture of pumpkin pie but crave full-on apple flavor, this custardy, cozy pie has your name on it. It’s basically fall in a fork: smooth filling, a flaky shell, and a cinnamon whipped-cream crown that says, “Eat me now.”
Introduction to the recipe
Think of this as the love child of pumpkin pie texture and apple pie taste. A rich filling made from apple butter and sweetened condensed milk sets up in a tender crust and finishes with pillowy cinnamon whipped cream. No heavy spice parade here — this pie highlights the apple’s caramelized sweetness. Want something that feels fancy but doesn’t require culinary gymnastics? Welcome home.
What makes this recipe so irresistible?
Why does this pie steal the show at holiday tables and casual Sunday dinners alike?
- Pure apple flavor. The filling tastes like slow-cooked orchard apples — deep, sweet, and slightly caramelized.
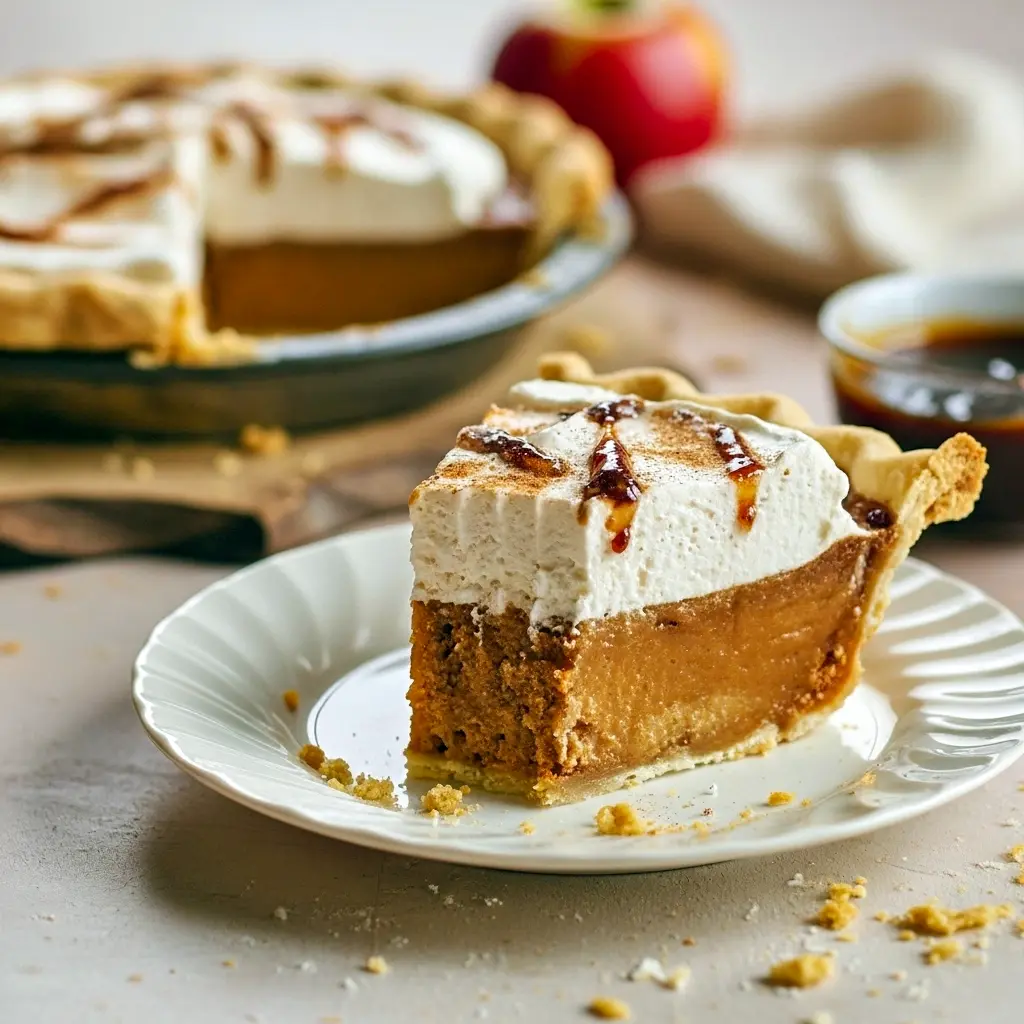
- Silky custard texture. Fans of classic custard pies will swoon at the smooth, velvet-like bite. (Yes, it’s got serious Velvet Pie energy.)
- Minimal fuss, max payoff. You need a handful of pantry staples and a basic pie crust — homemade or store-bought. That’s it.
- Versatility. Fancy it for Thanksgiving, bring it to a potluck, or slice it for a weekday dessert. It adapts.
You get nostalgia, comfort, and crowd-pleasing drama in one tidy pie. Who can resist that?
Ingredients — short descriptions so you know what matters
Here’s what you’ll need (and why each item earns its place).
- Pie crust — Use your favorite all-butter crust for flakiness, or grab a pre-made crust when life gets busy. Either way, keep it cold for best results.
- Apple butter — The star. Choose a thick, reduced apple butter (store-bought like Musselman’s works, or make your own). If it’s runny, cook it down until it’s spoonable.
- Eggs (3 large, room temperature) — They bind and create that custard-set texture. Room-temp eggs mix in smoothly — don’t skip this.
- Dark brown sugar — Adds caramel depth and color. Swap light for a milder result, but dark is my pick.
- Sweetened condensed milk (14 oz) — Gives ultra-creamy richness and keeps the filling silky.
- All-purpose flour (1 Tbsp) — Helps the filling set just enough.
- Spices/toppings — Ground cinnamon folded into whipped cream, maybe a pinch of nutmeg if you like.
- Optional extras — A drizzle of extra apple butter, a sprinkle of flaky sea salt, or a caramel ribbon if you want to flirt with decadence.
Simple how-to (clear steps you’ll actually follow)
No fluff. Just the steps.
- Make or chill your crust. Prepare an all-butter pie dough, chill it at least an hour, then roll and line a 9-inch pie plate. You can skip to store-bought here — no judgment.
- Par-bake the shell. Crumple parchment, add pie weights (or dry beans), and bake until the crust just firms up. Remove weights and bake 5 more minutes. This prevents sogginess.
- Whisk the filling. In a big bowl, whisk apple butter, eggs, brown sugar, and the tablespoon of flour until smooth. Pour in sweetened condensed milk and whisk to a glossy, lump-free batter.
- Bake gently. Pour filling into the par-baked crust. Bake until the center sets but still jiggles slightly — not sloshy, not rock-solid. The pie will finish as it cools.
- Cool & chill. Let the pie come to room temp, then refrigerate until cold and firm (2–4 hours). This step helps you get clean slices.
- Top with cinnamon whipped cream. Whip heavy cream + powdered sugar + vanilla + a pinch of cinnamon to soft-stiff peaks. Dollop or swoop over each slice right before serving.
Hot tip: Put the pie on a baking sheet for the first two-thirds of baking time in case of any spillover. Saves cleanup and feelings.
The story behind this pie
I first swapped pumpkin for apple butter on a whim during a Thanksgiving where my oven seemed to conspire against me. I wanted that silky, custard texture but craved apple instead of pumpkin spice. I grabbed a jar of apple butter, mixed it with condensed milk, and handed the pie to my most skeptical aunt. She took one bite, paused, and said, “You changed my holiday.” Dramatic, yes — but it’s the kind of reaction that keeps this recipe in my rotation. This pie brings nostalgia without being predictable, and that balance wins every time.
Pro tips for the best outcome (don’t skip these)
- Use room-temperature eggs — they emulsify better and give a smooth filling.
- Par-bake the crust — that’s how you avoid a soggy bottom.
- Check for a slight jiggle in the center; then stop baking. The pie will firm while it cools.
- Tent with foil if the crust edges brown too quickly.
- Reserve a bit of apple butter to brush on top or swirl into the whipped cream for extra oomph.
- Chill well before slicing for tidy wedges. Cold slices cut cleaner.
Bold tip: If your apple butter seems thin, simmer it down to thicken — thicker apple butter makes a firmer, more flavorful filling.
Variations to try — play with flavors
- Half apple butter, half pumpkin puree — give your pie a fall hybrid twist (hello, Milkbar Pumpkin Pie vibes with a fruity personality).
- Apple cider reduction — reduce 1 cup apple cider to a syrup and whisk it into the filling for concentrated orchard flavor.
- Fruit butter swaps — try pear butter, peach butter, or pumpkin butter for new takes.
- Decorative crust — use leaf cutters on scraps of dough for a pretty, seasonal rim.
- Caramel ribbon — swirl in or drizzle on top for a dessert that flirts with over-the-top (in a good way).
Best way to serve
Serve chilled for clean slices and a silky mouthfeel, or offer slightly warm slices for a comforting, gooey vibe. Pair with:
- A big scoop of vanilla ice cream for contrast.
- Cinnamon whipped cream (obviously) — whip heavy cream, powdered sugar, vanilla, and a dusting of cinnamon.
- Strong black coffee or a cozy chai — the bitterness balances the sweet.
Serving tip: Use a very sharp knife warmed under hot water and wiped between slices for perfect presentation.
Quick tips for storage and leftovers
- Room temp: Keep for up to 3 days (cover loosely).
- Refrigerated: Store up to 5 days in an airtight container — the custard stays safe and tasty.
- Whipped cream: It starts to weep after ~2 days; serve the cream on the side if you plan to keep the pie longer.
- Freezing: Chill fully, flash-freeze 30 minutes, then wrap tight in plastic + foil and freeze up to 4 months. Thaw in the fridge 3–4 hours.
Bold reminder: Don’t leave custard pies out longer than 2 hours at room temp. Food safety matters.
FAQs — quick answers so you don’t panic mid-bake
Can I use store-bought pie crust?
Yes. Real talk: store-bought crusts make this recipe fast and still delicious.
My pie is runny — what happened?
You likely underbaked it. The center should be set with a slight jiggle. It firms as it cools.
Why did my crust get soggy?
Either you didn’t par-bake the crust enough or the pie didn’t finish low in the oven. Par-bake + finish on the lower rack fixes this.
Can I swap sweetened condensed milk for evaporated milk?
Not directly — sweetened condensed adds sweetness and body. If you swap, increase sugar and expect a slightly different texture.
Is this the same as an Apple Cider Pie?
Not exactly. Apple Cider Pie usually uses reduced cider or cider flavor; this pie uses apple butter for concentrated apple richness.
More creative ideas (because you asked for Pie Ideas Creative)
- Make mini tartlets in a muffin tin for single-serve charm.
- Layer the filling into a blind-baked crust, top with cinnamon whipped cream, and torched sugar for a brûléed finish.
- Use the filling as a topping for a warm pound cake or blondies — who said pie has to stay in pastry form?
Why this belongs on your Thanksgiving table
This pie hits the seasonal sweet spot: familiar texture, standout flavor, and easy scaling for guests. It plays well next to savory turkey and bright sides, and it offers a change-of-pace from the usual pumpkin. If you want a dessert that prompts compliments and “What is this?!” questions, this one’s your secret weapon.
FYI: Guests notice the difference between “store-bought” and “made with love,” but this pie bridges that gap — minimal fuss, major applause.
Final thoughts
If you love slices that feel like velvet and taste like late-afternoon orchards, this Apple Butter Apple Pie will become a fast favorite. It’s cozy enough for quiet nights and impressive enough for holiday spreads. Whether you lean into Pie Recipes Thanksgiving classics or chase new Pie Ideas Creative, this pie fits the brief: delicious, reliable, and delicious again.
So — are you ready to make this pie your holiday flex? Grab the apple butter, preheat the oven, and lower your expectations for restraint. This pie encourages sharing, but honestly, I get it if you want to keep most of it for yourself.
Follow me on Pinterest for daily new recipes. Print

Apple Butter Pie with Cinnamon Whipped Cream — Classic Apple Butter Apple Pie delight
- Total Time: 1 hour 30 minutes
- Yield: 8 servings 1x
Description
This apple butter pie delivers a silky, custard-like filling flavored with concentrated apple butter and sweetened condensed milk, all baked in a flaky homemade crust. Think pumpkin-pie texture with bright, apple-forward flavor — cozy, simple, and seriously satisfying.
Ingredients
For the crust (makes two discs; you’ll use one)
- 3¼ cups (390 g) all-purpose flour
- 1 cup + 6 tbsp (311 g) unsalted butter, very cold, cut into ½” cubes
- 1 tsp kosher salt
- ⅔ cup (5.3 oz) ice-cold water (plus a few ice cubes on hand)
For the apple-butter filling
- 1½ cups (482 g) apple butter, plus a little extra for topping
- 3 large eggs, room temperature
- ¼ cup (50 g) dark brown sugar
- 1 Tbsp all-purpose flour
- 1 tsp vanilla paste or extract
- 14 oz (1 can) sweetened condensed milk
For the cinnamon whipped cream
- 1 cup (240 ml) heavy whipping cream
- 2 Tbsp powdered sugar (about 15 g)
- 1 tsp ground cinnamon
- 1 tsp vanilla paste or extract
Instructions
Make the dough
-
Stick the butter cubes in the freezer for about 15 minutes while you prep other ingredients — cold butter = flaky crust.
-
Toss the flour and salt into a food processor and pulse once to mix. Scatter the chilled butter over the flour and pulse in short bursts until the butter resembles peas and the mixture looks sandy.
-
Measure ⅔ cup very cold water (remove any ice). With the processor running, drizzle most of the water through the chute; keep one tablespoon in reserve. Pulse until the dough forms rough, shaggy clumps that hold when squeezed. If it still feels dry, add that reserved tablespoon. Don’t let the dough form a single ball in the machine.
-
Turn the pastry out, divide into two equal portions, flatten each into a 1″ disc, wrap in plastic, and chill 1–2 hours until firm. Use one disc now and freeze the other for later.
Bold tip: Keep the butter and water cold — warm fat ruins flakiness.
Roll and par-bake the shell
-
Remove one disc from the fridge and let it sit 10–15 minutes so it’s easier to roll (still cool, not room temp). Lightly flour your board and pin. Roll the dough to about 1/8″ thickness and make it 2″ wider than your pie plate.
-
Transfer the dough to a 9″ pie dish. Trim the edges to about 1″ of overhang, fold the overhang under, and crimp or flute the rim. Freeze the crust for 15 minutes to help it hold shape.
-
Preheat the oven to 375°F (190°C). Dock the chilled crust all over with a fork, line it with parchment, and fill with pie weights or dry beans/rice. Bake on the middle rack for 15 minutes, remove the weights and parchment, then bake 5 more minutes until the shell looks set. Move the crust to a wire rack.
Bold tip: Par-bake the shell to avoid a soggy bottom.
Prepare the filling and finish baking
-
Lower the oven to 325°F (163°C). Position racks in the center and the lower third of the oven.
-
In a large bowl, whisk together the apple butter, eggs, dark brown sugar, 1 Tbsp flour, and vanilla until smooth.
-
Pour in the sweetened condensed milk and whisk until the mixture becomes glossy and uniform. Scrape every last bit from the can — waste not.
-
Pour the filling into the hot par-baked crust and return the pie to the center rack. Bake 30 minutes, then carefully slide the pie down to the bottom third of the oven and bake another 10–15 minutes. The center should look set but still jiggle slightly — not liquid.
-
Remove the pie and cool it on a wire rack until it reaches room temperature, about 3 hours. For faster chilling, pop it in the fridge.
Baking note: If the crust edges darken too quickly, tent foil over them. For a golden finish, brush the crust with egg wash before par-baking.
Cinnamon whipped cream and assembly
-
In a stand mixer fitted with the whisk (or using a hand mixer), combine the heavy cream, powdered sugar, cinnamon, and vanilla. Whip on high until soft-stiff peaks form (1–2 minutes). Don’t overbeat.
-
Spread the whipped cream across the cooled pie. Spoon a few extra drops of apple butter on top and gently swirl with a spatula for pretty ribboning. Slice with a sharp knife, wiping it clean between cuts for neat wedges.
Serving tip: Warm the knife under hot water and dry it for the cleanest slices.
Notes
Storage & Freezing
-
Room temperature: Cover loosely and eat within 2–3 days.
-
Refrigerator: Keep covered up to 5 days (custard pies need cool storage).
-
Whipped cream: It begins to weep after ~48 hours — serve it fresh or on the side if you won’t finish the pie quickly.
-
Freezing: Chill the pie fully, then freeze 30 minutes to firm. Wrap the whole pan tightly in plastic wrap, then foil. Freeze up to 4 months. Thaw overnight in the fridge before serving.
Bold note: Do not leave custard-based pies out longer than 2 hours at room temperature.
Troubleshooting & tips
-
If your pie filling wobbles like Jell-O after cooling, it likely baked too briefly. Bake until the center sets with a slight jiggle — it firms as it cools.
-
Soggy crust? Par-bake properly and finish baking on the lower rack for a few minutes to crisp the bottom.
-
No pie weights? Use clean dried beans or rice, but don’t cook or eat them later — they’re for weights only.
-
Want deeper apple flavor? Reduce 1 cup apple cider to a sticky syrup and whisk it into the filling.
-
For a prettier rim, cut shapes from the second dough disc and arrange them around the edge before baking.
FYI: Reserve a couple of tablespoons of apple butter (don’t add to the filling) if you want to swirl it on top after baking.
Final note
This version of apple butter pie keeps things honest: straightforward technique, pantry-friendly ingredients, and a dessert that tastes like cozy afternoons in an orchard. Make the crust ahead, stash the spare dough in the freezer, and enjoy watching people ask for seconds — and the recipe.
- Prep Time: 30 minutes
- Cook Time: 1 hour
- Category: Dessert
Nutrition
- Calories: 703kcal


